Tips and Ideas to Help You Start a Makerspace
I get questions every week asking what I use in my makerspace and how to begin one. I’m so happy to be able to share with you all the tips and tricks I have learned along the way to start and maintain a successful makerspace. In 2017, I switched from teaching fifth and sixth-grade technology classes to teaching kindergarten through fourth-grade enrichment classes. I saw 350 students each week, in five different grade levels, in two different schools for 45-minute periods. To put it lightly, I was super stressed about what to teach and how to get all of the materials organized! As the days went by, I learned and realized what worked and what didn’t. Now I want to help you start a makerspace at your school. Are you ready?!?
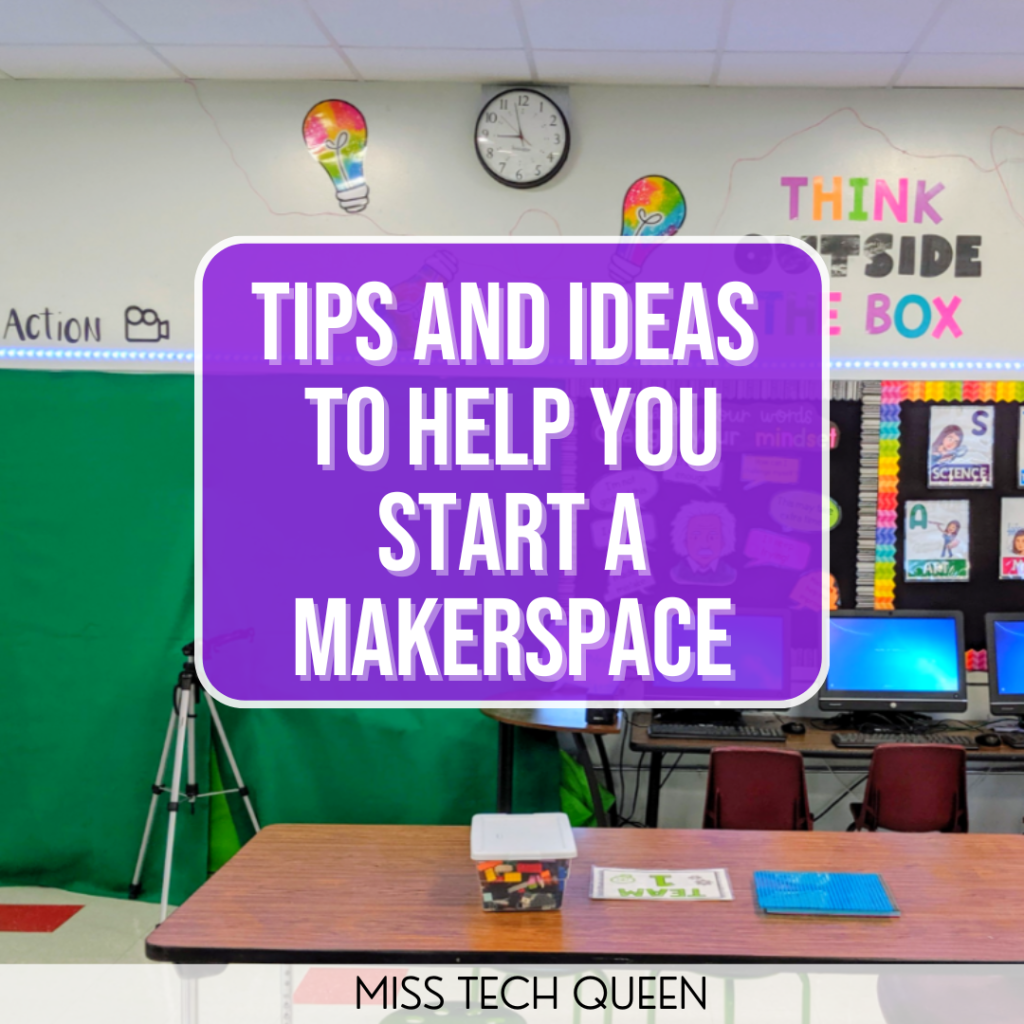
Starting a makerspace at your school doesn’t have to be complicated. It may feel overwhelming because it is likely that you don’t have a curriculum or anyone else on your campus to talk to. No worries! I am here to share all that I have learned over the years and support you. Here are some of my best tips and ideas for getting your makerspace started.
Donations to Help You Start a Makerspace
Let’s face it – if there is one thing you will need in your makerspace it is supplies. Getting students to tap into their creative maker doesn’t happen with a pencil and paper. But don’t worry! It’s not as hard as you think to find great makerspace supplies.
Just Ask!
Donations are a huge help! When I first started in this position, I contacted everyone to ask for donations. I wrote on my personal social media accounts asking friends and family for old Lego pieces, wooden pieces, and so on. Garage sales were also a great place to look for fun furniture. I even posted on my local town’s Facebook page and searched Mom’s on a Budget groups. I received MANY items this way and for free!!! And, I also received lots of building materials that people were looking to get rid of!! I even got a nice carpet for my room. The moral of the story is don’t be too shy to reach out to others!!!
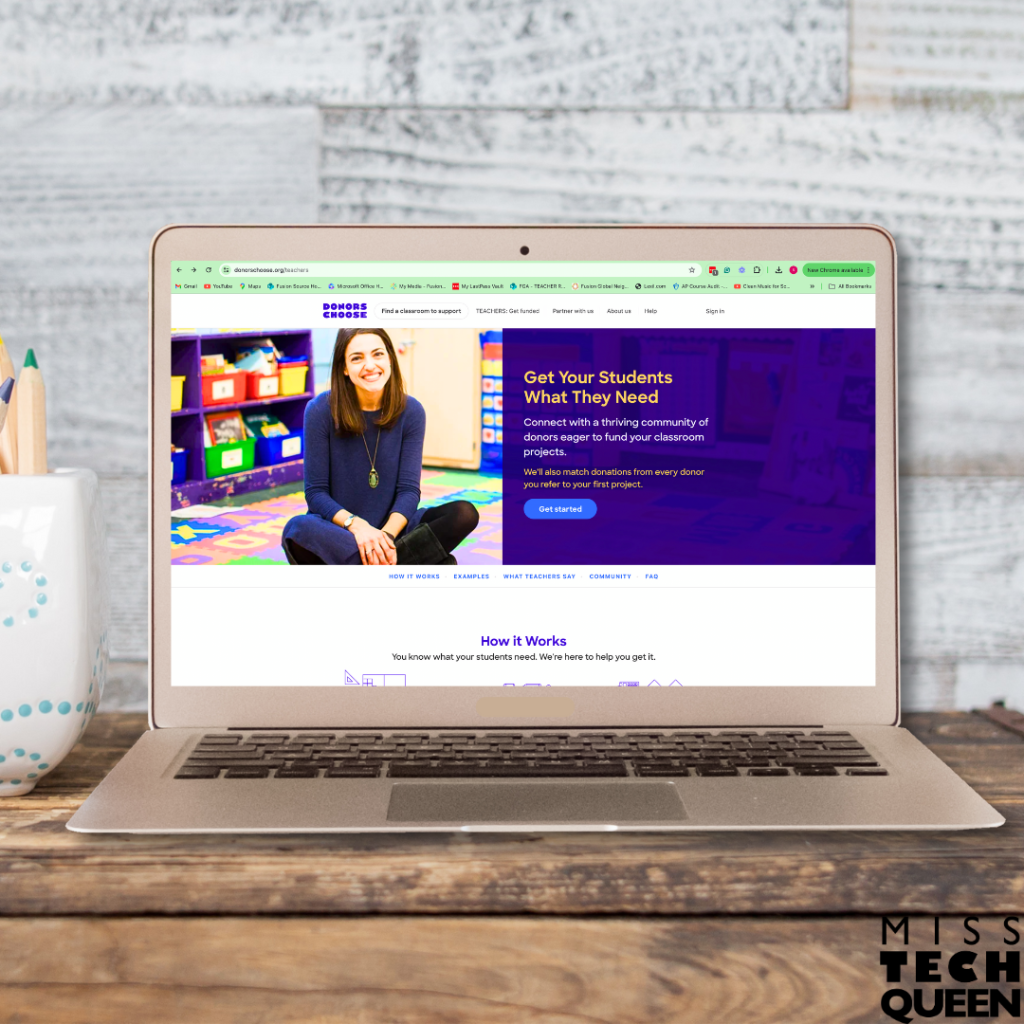
Donorschoose.org is another fantastic resource if you are looking to start a makerspace in your classroom this year. It’s essentially a way to connect people who want to support education to those teachers who have a need. And, the best part is your donors can see exactly what their funds are going towards.
All you need to do is register, write up a proposal, list the supplies you are requesting, and explain how those supplies will benefit learning in your classroom. Then, donors can read your proposal and decide if they want to fund part of your request or the whole thing. And. . . you are able to keep your donors updated as your students utilize the supplies they have donated. It’s a super cool way to get what you need for your students with the help of some generous donors.
Start a Makerspace with Recycled Materials
Recycled materials are wonderful to build with, and they are FREE! These can be used in so many fun and engaging STEM challenges. Once used, they do go quickly, but they can be collected just as fast. I keep a small box in my house where I toss in any cardboard boxes, whether it is a tissue box, toilet paper roll, or cosmetic packaging.
On back to school night I give a donation letter to parents asking for recycled materials. Keeping a large donation collection box at the front of the school is a great way to make it easy for parents to help stock your recyclable materials. When I am running low during the year, I send it home to my parents too. This is a great way to get items for nothing. Just be careful about sending it school-wide, you may end up with TOO many items! I suggest staggering who you send it to.
Lessons and Activities Using Recycled Materials You Can Use in Your New Makerspace
Once you have a stockpile of recycled materials, you are ready to jump into some fun activities! This STEM Recycling Challenge is the perfect addition to your makerspace activities. It allows you to incorporate creativity, problem-solving, design thinking, and using recycled materials into your lessons.
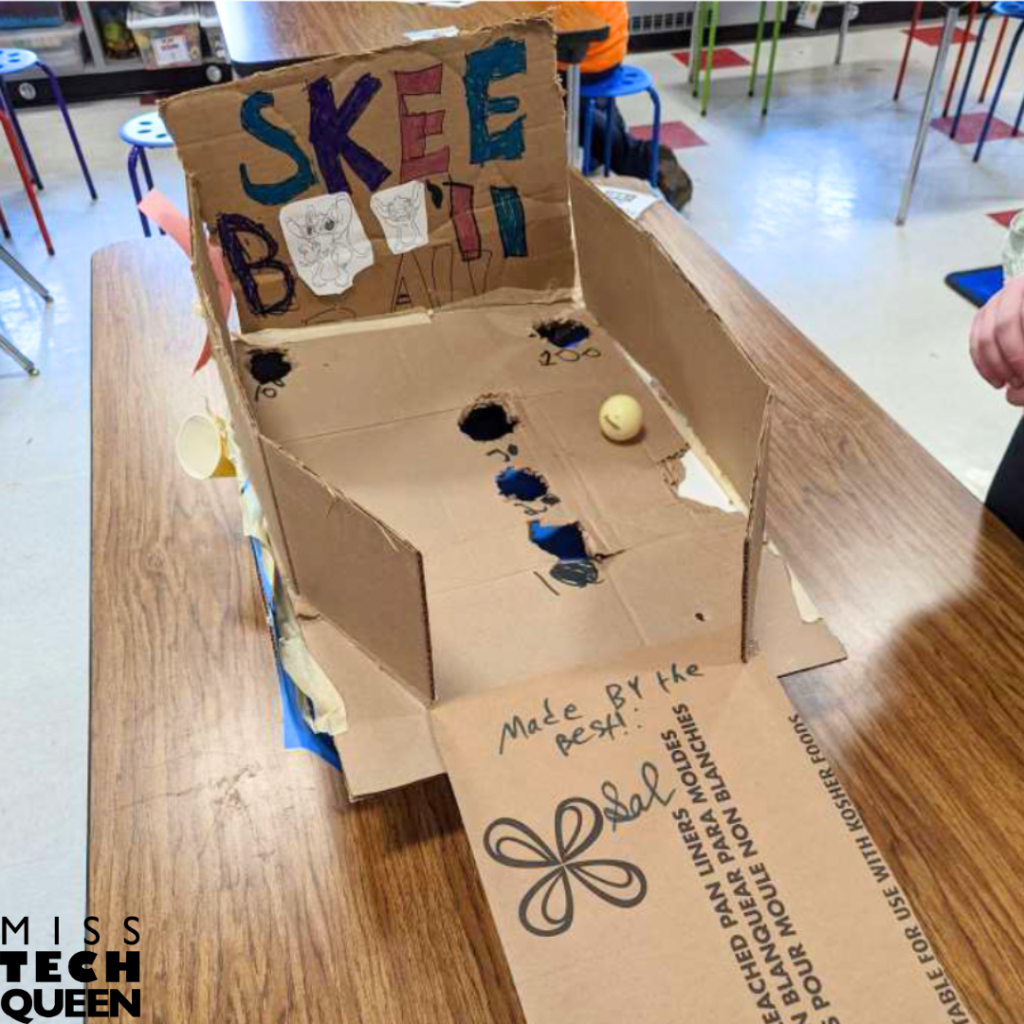
I like to start this activity as a whole group and start with a read-aloud to tie in some literacy. My favorite book to pair with this activity is What To Do With a Box by Jane Yolen. After reading the book to my class, it’s time to break them up into small groups and hand out the task cards, and let students get to work building their own inventions with a box. Using only recycled materials and maybe a little tape and/or glue your students will work collaboratively to create their own invention. From helpful inventions like a homework machine to a laundry folding contraption, to a pinball machine, the possibilities are endless.
The STEM Recycling Challenge includes everything you need for an engaging makerspace lesson. From task cards and a design process poster, to student response sheets and a slide show, you will have everything you need right at your fingertips.
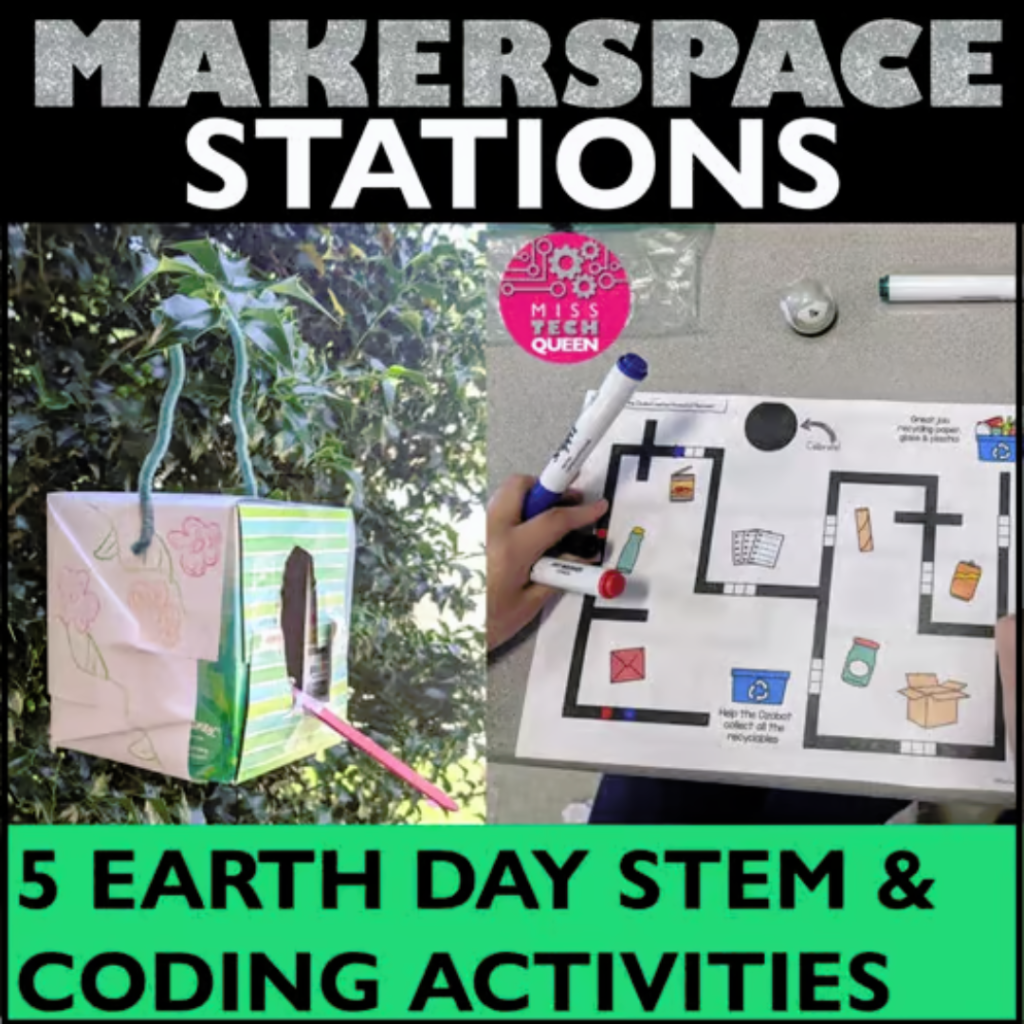
Looking for even more Recycling-Themed Activities? Check out these amazing Earth Day Activities STEM Challenge Bird House Recycling Activities you can incorporate into your lessons when you start a makerspace this year.
Reusable Materials for Your Makerspace
In addition to recyclable materials, I’ve found that having a stock of materials that can be reused are key. I teach five different grade levels, and often have to clean up quickly and set up for the next class. Giving something as simple as a popsicle stick to every first-grade student means I am down 100 sticks in one day. Things just can’t work like that, so I decided to use items like Lego, Magformers, Keva Planks, and similar items that don’t get tossed are more beneficial in the long run. Using reusable materials in your classroom gives you a sustainable and efficient way to keep the makerspace stocked without the constant need to keep buying supplies.
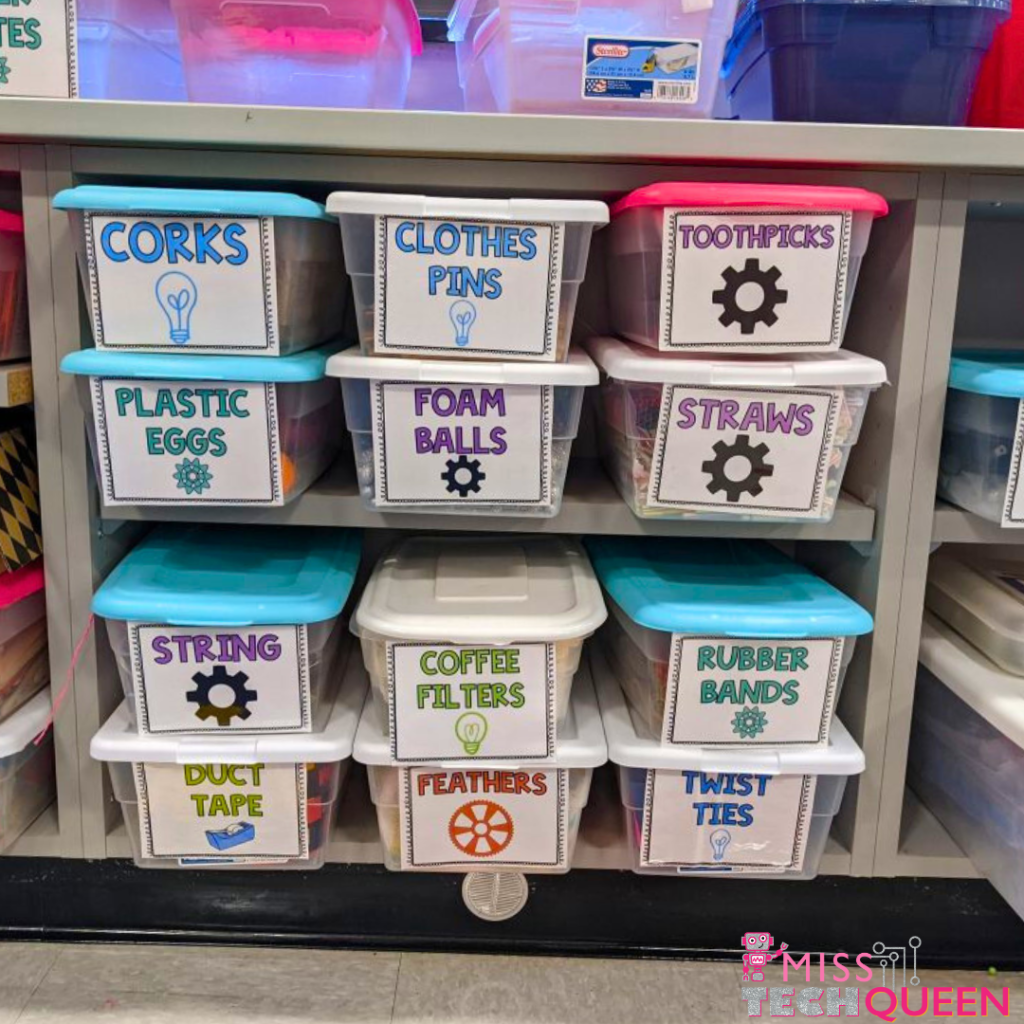
Purchasing these items once means I can use them throughout the entire year and so on. Not only is it more cost-effective, but they are easy to quickly clean up and place back in a bin. My favorite way to keep these supplies organized and easy to find is by utilizing my Makerspace Bin Label set. All I have to do is print out the labels, laminate them, and tape them to the bins for year-round convenience.
Because these reusable supplies are durable they are also great to use with multiple grade levels for years and years. I think of these materials as an investment, so even if they are a little more expensive at first, they end up being incredibly cost-effective in the long run. Check out my favorite building materials available on Amazon.com.
Lessons and Activities You Can Use With Reusable Materials
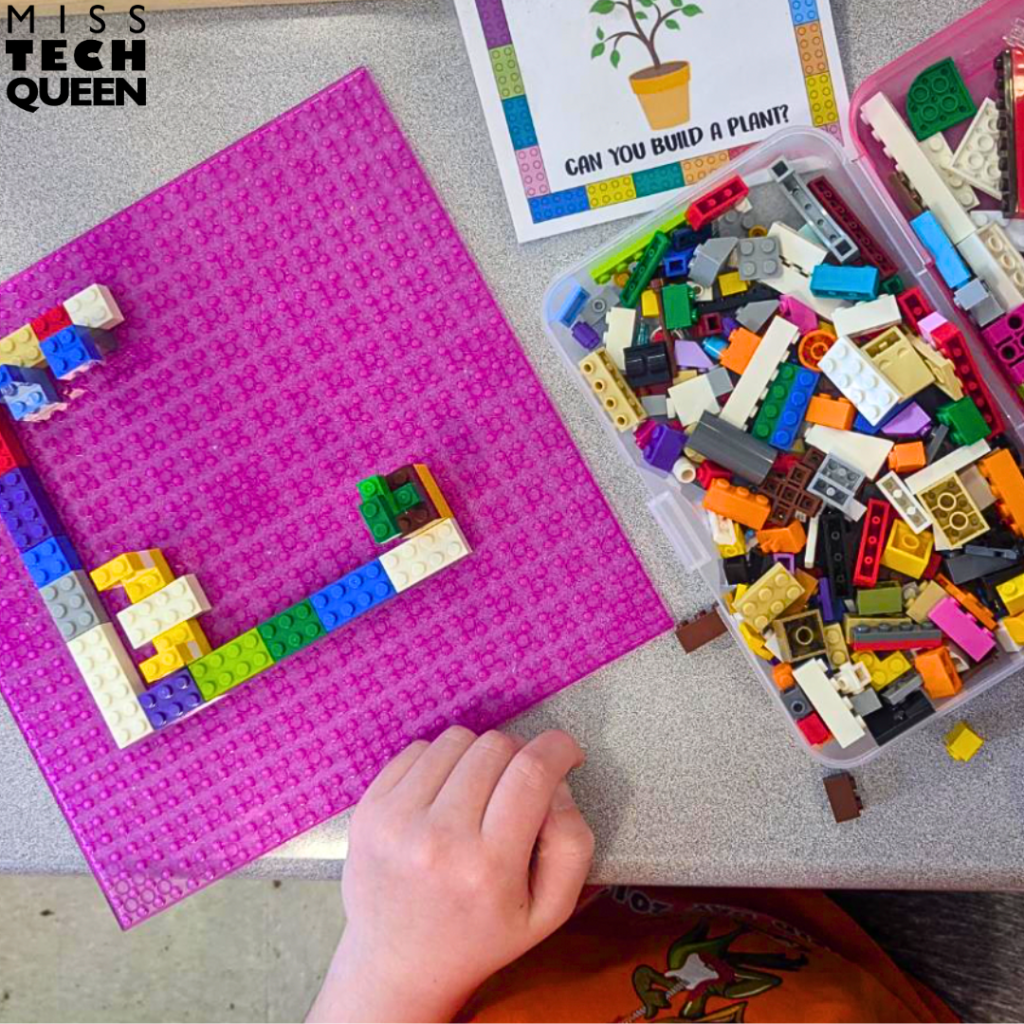
I like to use the STEM Building Challenge Task Cards in my makerspace stations using reusable materials like Lego. The SPARK cards included in the set are meant to enhance creativity and imagination as students work to build various items out of reusable materials. Each card includes an image and a description of what should be built.
The best part is that your students can build and rebuild the items several times. They can even work together in small groups or as partners to complete the build. Just keep the reusable materials in small bins or even pencil boxes for students to use over and over again throughout the year. And, you can even switch out the prompts to include seasonal builds to keep students interested and excited about the activities throughout the year.
I print out and laminate the building mats at the beginning of the year and keep them in bins for students to choose from when they are ready to complete the challenges. This means I don’t have to waste valuable time and energy reprinting the mats every couple of months.
And. . . having easy to grab and use activities like this makes them perfect for emergency sub plans.
Simple STEM Stories
When I first started a makerspace, I was creating these complex challenges with multiple-page response sheets and I realized this just could not work for my classroom setting. Not only do I hate wasting paper, but photocopying a three-page booklet for 100 students took forever. I was rushing through class trying to explain everything, give time for building, and stop so students could fill out various steps. This just didn’t give my students enough time to grasp a concept and then build something meaningful to complete a challenge.
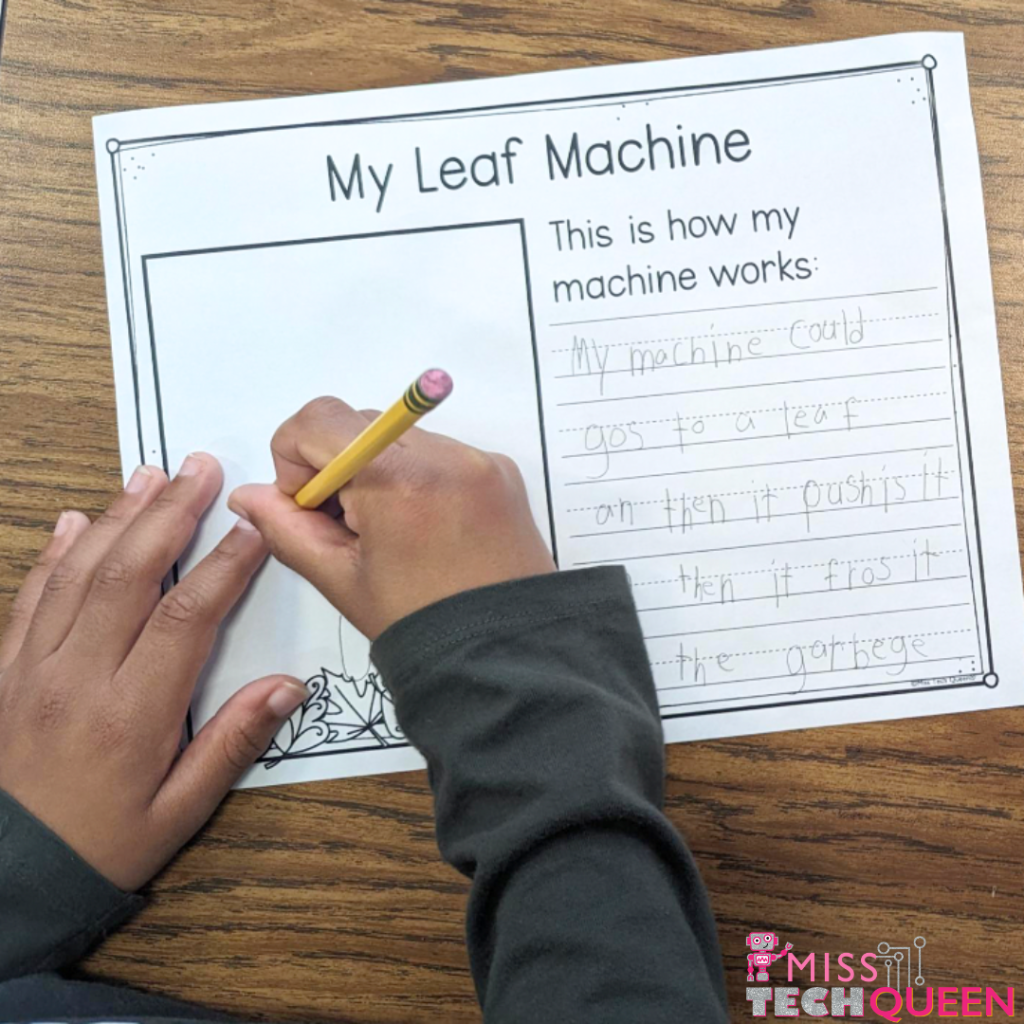
That’s when I developed my Simple STEM Stories. Because each Simple STEM Story is paired with a book, I can include some literacy in our learning as a starting point for your challenge. Simple STEM Stories also don’t require any special materials to complete. All I have to do is provide my students with reusable or recycled materials, and they can complete the challenge. Each challenge can be completed in one class period so it’s the perfect way to get in some STEM building and creativity into your makerspace time. And. . . each Simple STEM Story includes a one page written response sheet for students to write about their inventions.
My Favorite Simple STEM Stories to Use in My Makerspace
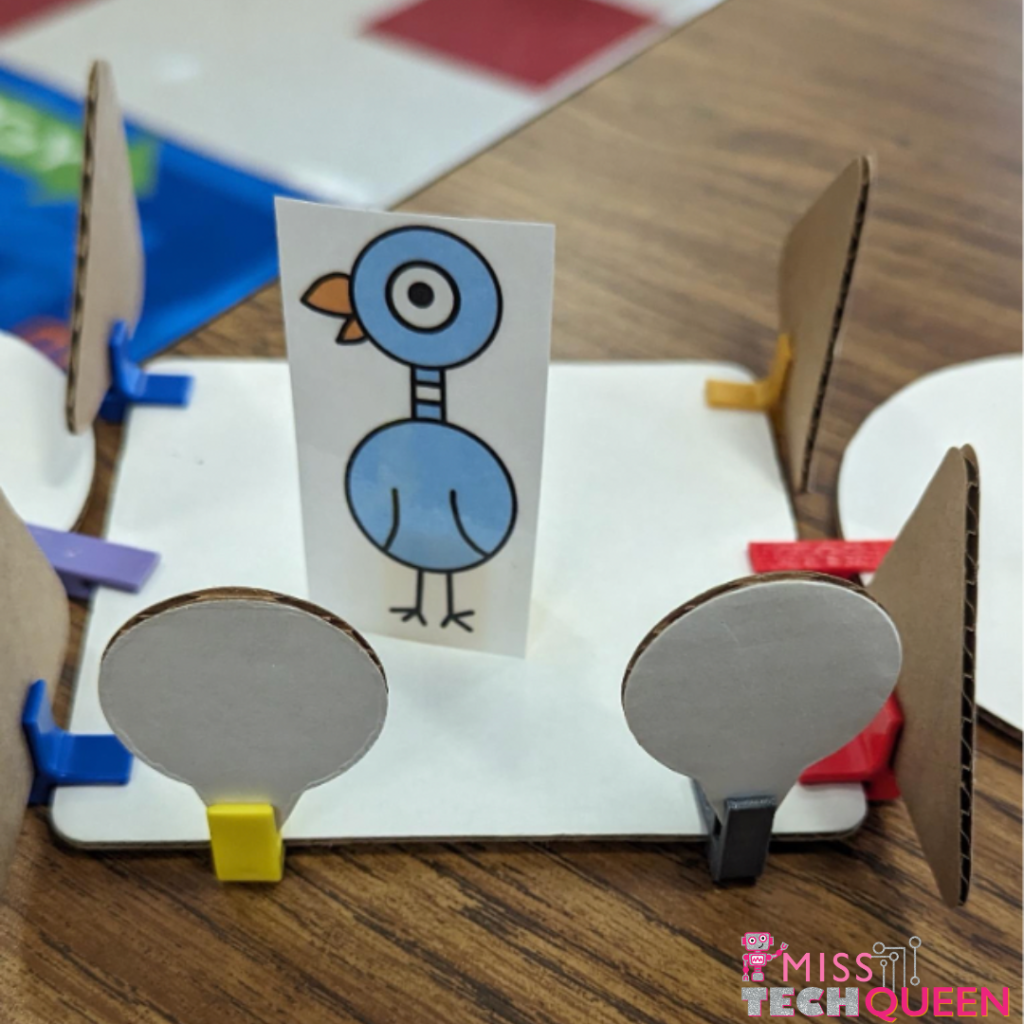
These Simple STEM Stories each pair perfectly with a book your students will love. From learning how to handle bullies to focusing on seasons and learning about transportation, these Simple STEM Stories not only focus on creativity and problem solving, but also teach real-world lessons.
Each of the Simple STEM Stories can be used as a whole class project, a group project, or even as a makerspace station during class time. Because they come with easy to follow instructions, digital slideshows, task cards, and response sheets, you can pick and choose what works best for each class or group of students.
With little to no prep required from you, it’s easy to incorporate these STEM challenges into your makerspace activities throughout the year. Sometimes I use these as center ideas, sometimes they pair with a theme like the seasons or important holidays. No matter how you choose to use them, you will have fun, engaging activities your students will love.
Check The STEM FOR A YEAR CLUB.
Grab a year’s worth of STEM Challenges and easily put together a plan for your makerspace! These hands-on activities are low prep and only require common classroom materials. Digital & printable versions of sheets are included. There are enough activities for you to do one per week ALL YEAR LONG!
Manage Your Time by Using Rotations
Rotations are one of my favorite ways to set up classes, especially for grades K-2. I use a Makerspace Rotation Chart to help keep things running smoothly throughout the rotation process. At the beginning of the year, I give students simple building materials to work with, such as LEGOs, Plus Plus blocks, and gears. As the year goes on, I start to incorporate new technology and materials for them to use, like robots and the green screen. Plus, if you do not have enough materials for every student, this is a perfect way to allow every student to try every activity.
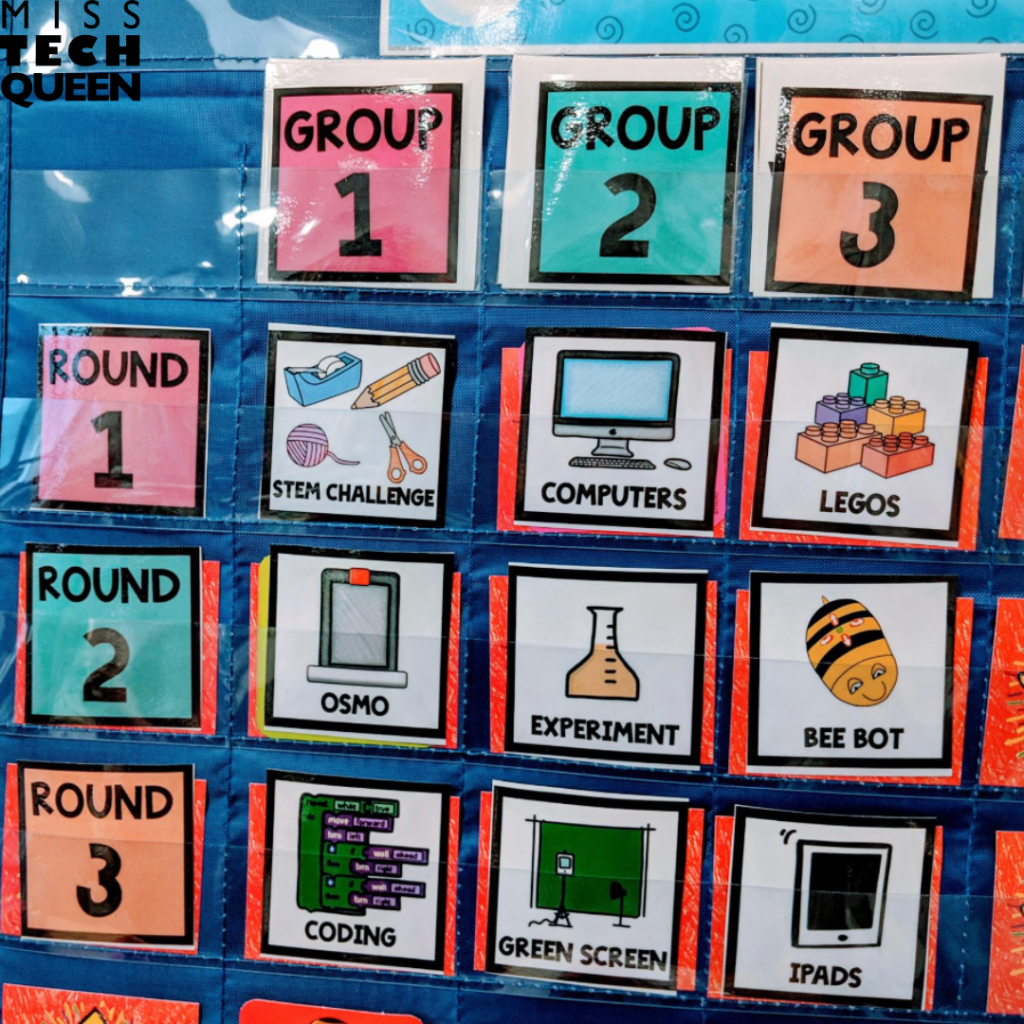
I set up rotations using six tables in my classroom with 3-4 students in each group. I usually set up two of the same tables, and rotate three different times. For example, I will provide LEGOs with building task cards, Magformers, and robot mouse at two different stations. With three stations in place, everyone will have a chance to complete all three activities.
Since building with LEGOs and Magformers is simple, I can focus on the robot mouse station. Getting two robots is also much easier than having to buy six.
As the year goes on, I will create six different stations. I let students select where to go, but I still limit the number of students at each table. This gives students the opportunity to try various activities, without the need for a full class set of supplies.
Decor Ideas to Help You Start a Makerspace
Makerspace Starter Kit
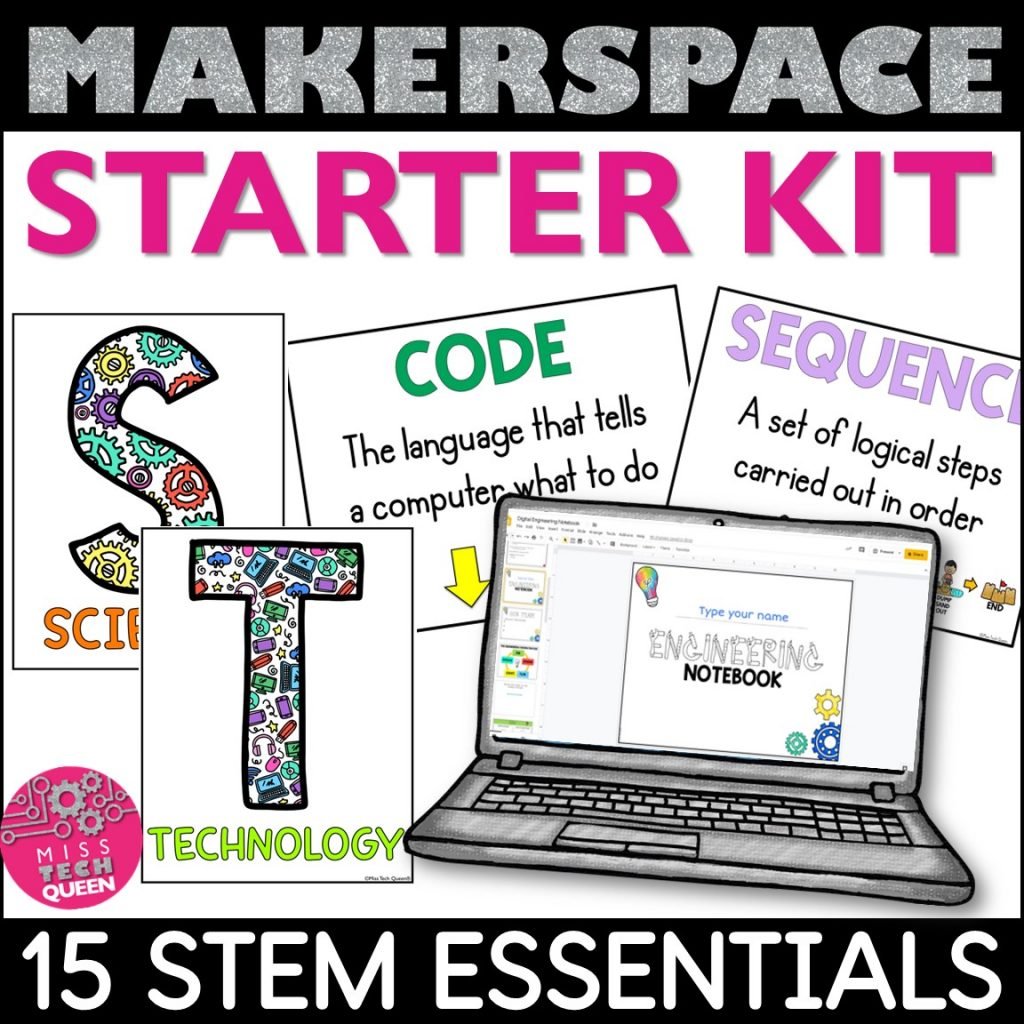
This Makerspace Starter Kit is a great way to get organized as you start a makerspace in your school. This bundle includes everything you need to create a welcoming and organized makerspace. Plus there are tools to help with classroom management in this non-traditional classroom setting.
Resources include:
- STEM Posters to explain the Engineering Design Process – different styles
- Station Rotation Digital & Printable Charts – set up stations during STEM time
- Classroom labels to organize your supplies – editable too!
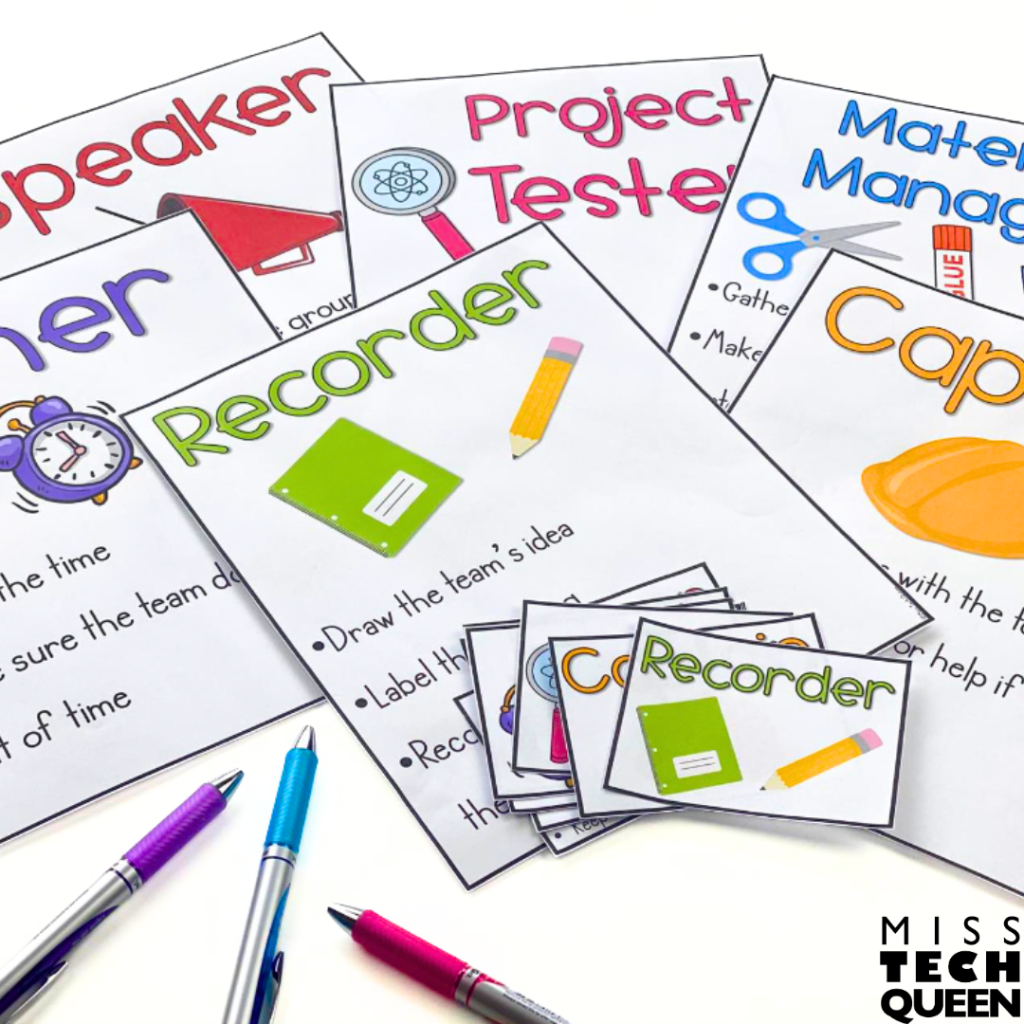
- Team role badges for challenges – Get students to work together better
- Makerspace Banner – Just print & hang
- STEM Starter Booklet – Digital & Printable – Great activity to kick off STEM challenges
- Construction posters to promote building
- 2 Door or Bulletin Board Kits to brighten your room
- Coding Vocabulary Posters – teach students the basics of computer science
- Maker Alphabet Posters – Teach students new words
- 18 Maker Bookmarks – great for early finishers to color in
- 30 STEM inspired Awards – Perfect or challenges or end of the year
Start a Makerspace in Your School Today
Now that you have all the tips, tricks, and tools to start a makerspace in your classroom, go for it! If you want even more information on how to use a makerspace in your classroom be sure to check out the blog post, Collaborative Learning Through an Elementary Makerspace. It is filled with lots more lesson and activity ideas to help you plan your year.
Save these Tips and Ideas to Help You Start a Makerspace
Be sure to save these tips and tricks to start a makerspace to your favorite teacher Pinterest board today!
Share it:
- Read more about: books, Classroom Decor, Makerspace, STEAM, STEM, STEM for a year, Tips for Teachers

