

There is a very specific kind of overwhelm that comes with being told you are the STEM teacher, but not being given a STEM curriculum to actually teach. I remember sitting at my desk, excited at first. Then the questions started piling up. What do I teach first? How long should STEM last? What are my students actually supposed to be learning? On top of that, I had short class blocks and multiple grade levels coming through my room all day. I would still be wrapping up one class while the next group was already waiting at the door. If that sounds familiar, you are not alone.
When it comes to building a solid STEM curriculum, you are not just planning activities. You are building an entire learning experience from scratch. That can feel like a lot, especially if STEM is new to you. The good news is that once you have a simple structure, everything starts to feel much more doable and much less overwhelming.
Why Building a STEM Curriculum Feels So Confusing at First
When you do not have a STEM curriculum, it is hard to know where to begin. Most of us start by saving ideas or searching for activities online. Before long, you have a list of fun activities but no real plan for how they connect or build on one another.

Many of you might also wonder how often you should teach STEM. You might only have one block a week, or you might be trying to squeeze it into centers. The truth is that consistency matters more than frequency. Even one well-structured STEM lesson each week can build strong skills if you stick with it.
Materials can feel like another barrier right away. It might seem like you need expensive kits or special tools to make STEM work. In reality, some of the best STEM lessons come from simple materials like cardboard, craft sticks, and recyclables that you already have in your classroom.
How to Build a STEM Curriculum That Actually Works
Building a STEM curriculum that actually works does not mean you need to have everything perfectly planned from day one. It simply means having a clear starting point and a structure you can rely on as you go. Instead of trying to do everything at once, you can focus on a few key pieces that will guide your decisions and keep your lessons purposeful. When you break it down this way, the process feels much more manageable. Let’s walk through five simple steps that will help you build a STEM curriculum you can confidently use in your classroom.
Step 1: Start Your STEM Curriculum With Clear Skills
Before planning activities, take a moment to decide what you actually want your students to learn. This step gives your STEM curriculum direction and keeps it from feeling random.
A strong STEM curriculum focuses on problem-solving and critical thinking. Your students should be asking questions, testing ideas, and figuring out what works and what does not. You also want to include the engineering design process, which means your students plan, build, test, and improve their designs.
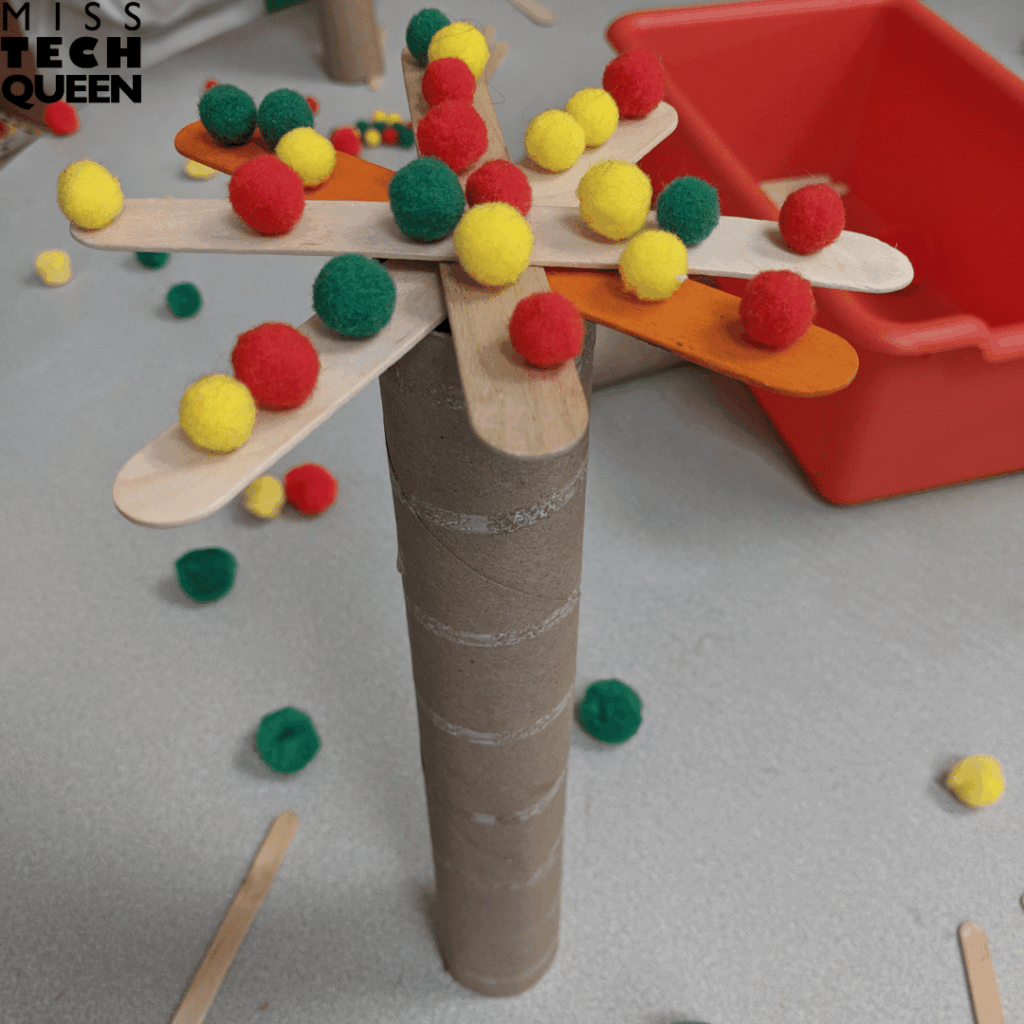
For example, if you are using a challenge like Apple Tree, your students are working on counting and balance while they build. In a Gum Drop Tower challenge, they are exploring shapes and structure while trying to make something stand. Those are real math and engineering skills happening during a hands-on activity.
In your classroom, this can be as simple as stating the focus before you begin. You can say something like, “Today we are focusing on balance and problem-solving while we build.” That quick moment helps your students understand that they are learning with a purpose.
You can also build background knowledge before the challenge begins. Try showing a short video clip or reading a quick picture book that connects to the task. For example, if your students are building structures, you might first show images of real bridges or towers. This gives them a foundation and helps them understand the “why” behind the challenge.
Step 2: Map Out Your STEM Curriculum for the Year
Once you know your focus skills, the next step is creating a simple plan for your year. This is where many of us can feel stuck, but it does not have to be complicated. Planning ahead removes the guesswork. You are no longer wondering what to teach next because you already have a structure in place.
But what should be part of a year-long STEM curriculum? There are lots of options you can choose from depending on the goals of your district or school. Here are some of the most popular additions: STEM challenges that teach creative problem solving and flexible thinking, challenges or experiments that connect to what students are learning in science and math, coding and robotics, stop motion animation, and makerspace activities. Whether you divide these up into units or cycle through them, you have the foundation of an amazing STEM curriculum.
One of the easiest ways to structure your STEM curriculum is by organizing it by seasons or months. This keeps your lessons engaging and gives you a clear direction. For example, in the fall, you might use building challenges. In the winter, you might focus more on motion or structure.
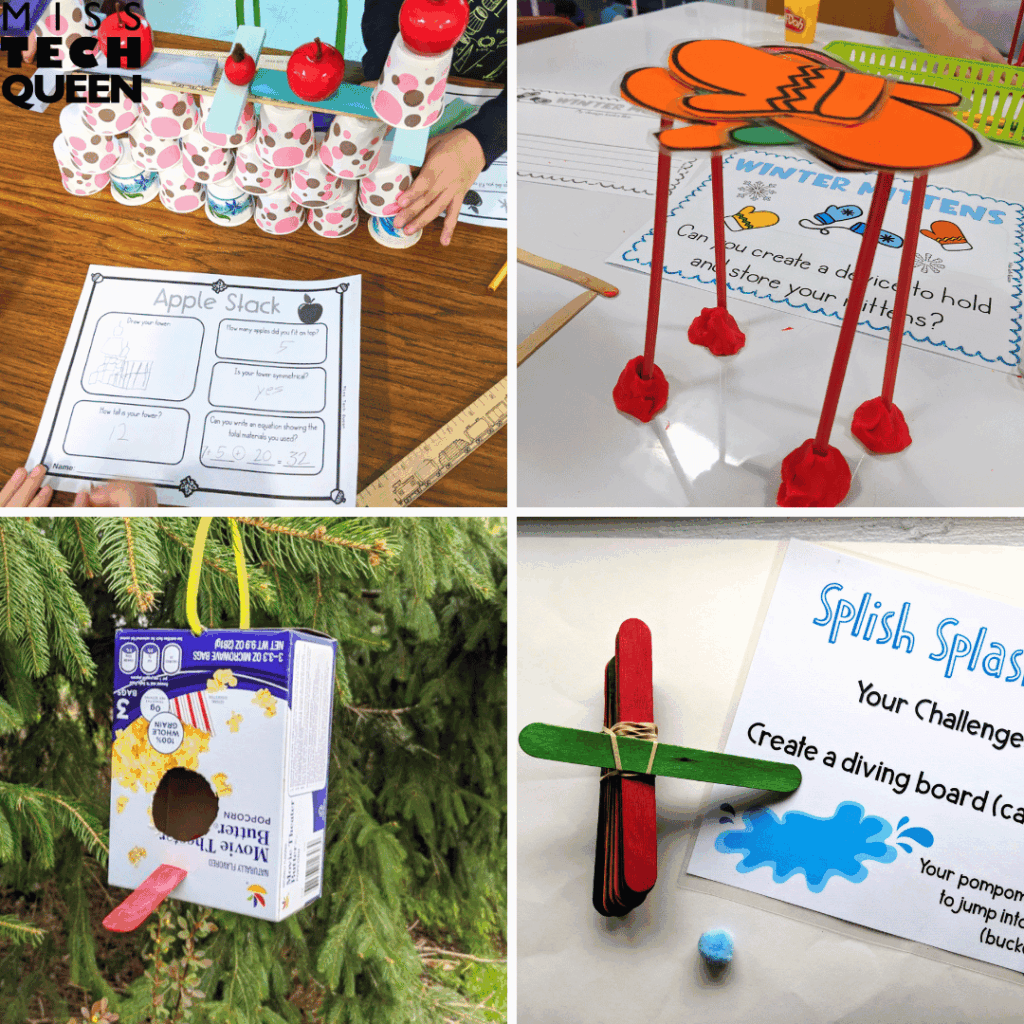
You might even be thinking of what time slots you have available to fit in a complete challenge. There’s always more time for STEM than meets the eye at first glance in our schedules. Let’s say you see your students once a week for 40 minutes. Week one could be introducing and planning the challenge. During your class the following week, you could have your students build and test. Week three could focus on improving designs and reflection.
If you see your students multiple times a week, you can stretch this across a few shorter blocks. If you only have one longer block, you can combine these steps into one lesson. The key is giving your students enough time to think, build, and improve. Over time, you’ll find what works best with your schedule and your kiddos’ abilities.
Step 3: Use Open-Ended Challenges in Your STEM Curriculum
Open-ended challenges are what make STEM meaningful and engaging for your students. These are activities where there is a clear goal, but no single correct answer. That means every one of your students can approach the challenge in their own way. One group might try something simple while another creates something more complex. Both are learning and growing.
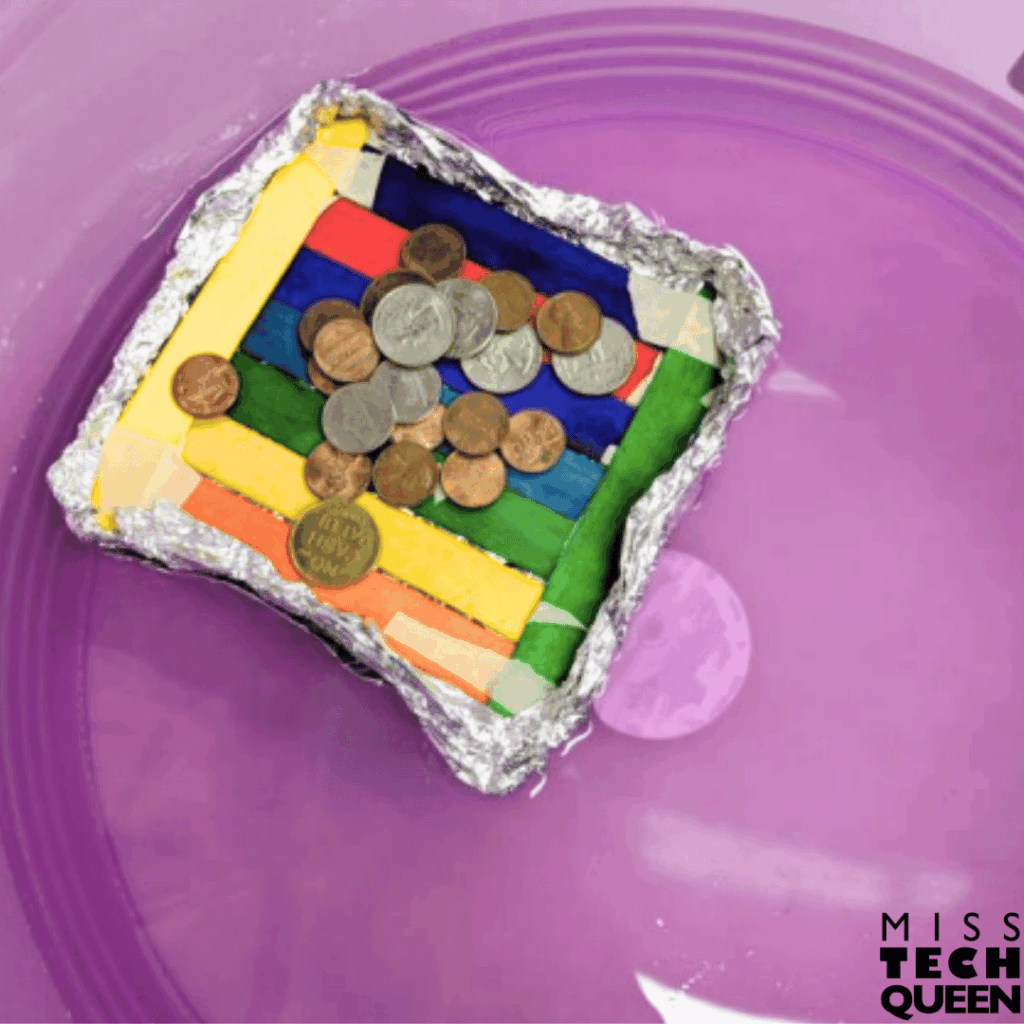
For example, during a floating challenge, one group might spread materials out to stay balanced. Another might build upward and test weight limits. Both approaches lead to discussion, problem-solving, and improvement. When you introduce the challenge, keep your directions simple and clear. You might say, “Your goal is to build something that can hold the most weight.” Then step back and let your students explore.
If one of your groups gets stuck, resist the urge to fix it for them. Instead, ask questions like, “What is happening right now?” or “What could you try next?” These small moments are where the deepest learning happens. Sometimes you’ll have students say, “I don’t know what to do.” You might even see them become frustrated. That is your moment to gently support them in their productive struggle without taking over. You might respond with, “Let’s look at what you already built. What part is working well?” or “Can you try changing just one thing and test it again?”
These small conversations help students stay in the problem-solving process instead of giving up or waiting for the answer.
Step 4: Create a Simple STEM Lesson Routine
One of the best ways to make STEM feel manageable is by creating a consistent routine. Even though the challenges change, your structure stays the same each time.
Start your lesson as a whole group. This is a great time to introduce the topic with a quick video, picture book, or real-world example, as I mentioned above. Then, you want to have a short discussion to activate prior knowledge and get your students thinking.

Next, give your students about five minutes to plan. They can sketch ideas or talk with a partner. It helps to provide an example of what planning can look like. Make it clear that their designs should be their own.
After that, move into the building and testing phase, which usually takes about twenty to twenty-five minutes. During this time, walk around and ask guiding questions. If something falls apart, remind your students that redesigning is part of the process.
End your lesson with a short reflection. Have your students share with their classmates their responses to questions like, “What worked well?” or “What would you change next time?” This helps your students process their learning and hear new ideas.
Step 5: Keep Your Curriculum Low Prep and Flexible
STEM does not need to be complicated to be effective. In fact, simple materials often lead to stronger thinking. Having only certain supplies available will also lead your students to collaborate as they share their ideas.

One thing that worked well for me was creating a STEM bin with basic supplies like cardboard, tape, craft sticks, pipe cleaners, scissors, and markers. When it was time for a lesson, I could quickly set materials out without extra prep. My students would know where to go to grab what they needed and return to work right away.
You can also adjust challenges based on your students. If something feels too easy, add a new requirement. This could be putting a limit on the number of items that can be used. Maybe it’s about how much weight the structure can support or how tall it can be. If something feels too hard, model one small part to help them get started. You can also provide more prompts to guide thinking.
This flexibility is what makes STEM realistic. You can adapt as needed while still building meaningful skills.
Creating a STEM Curriculum That Actually Works
Creating your own STEM curriculum does not have to feel overwhelming. When you focus on skills, build a simple routine, and use open-ended challenges, everything starts to come together. You are giving your students the chance to think, create, and solve problems in meaningful ways. That is what makes STEM so powerful in the classroom. Once you have a structure in place, it becomes something you can actually enjoy teaching.
Build Your STEM Curriculum Without Starting From Scratch
At this point, you might be thinking, “This all makes sense, but when am I supposed to plan all of this?” I remember feeling that exact way. I was teaching hundreds of students each week across multiple grade levels, and my STEM blocks were short. It felt like I was constantly trying to manage materials, explain directions, and still give my students time to actually create.
That is exactly why I created my STEM challenges. I needed something that worked in real classrooms. Not something that required complicated prep or hard-to-find materials. I needed activities I could grab, set up quickly, and use with any group of my students walking through my door.
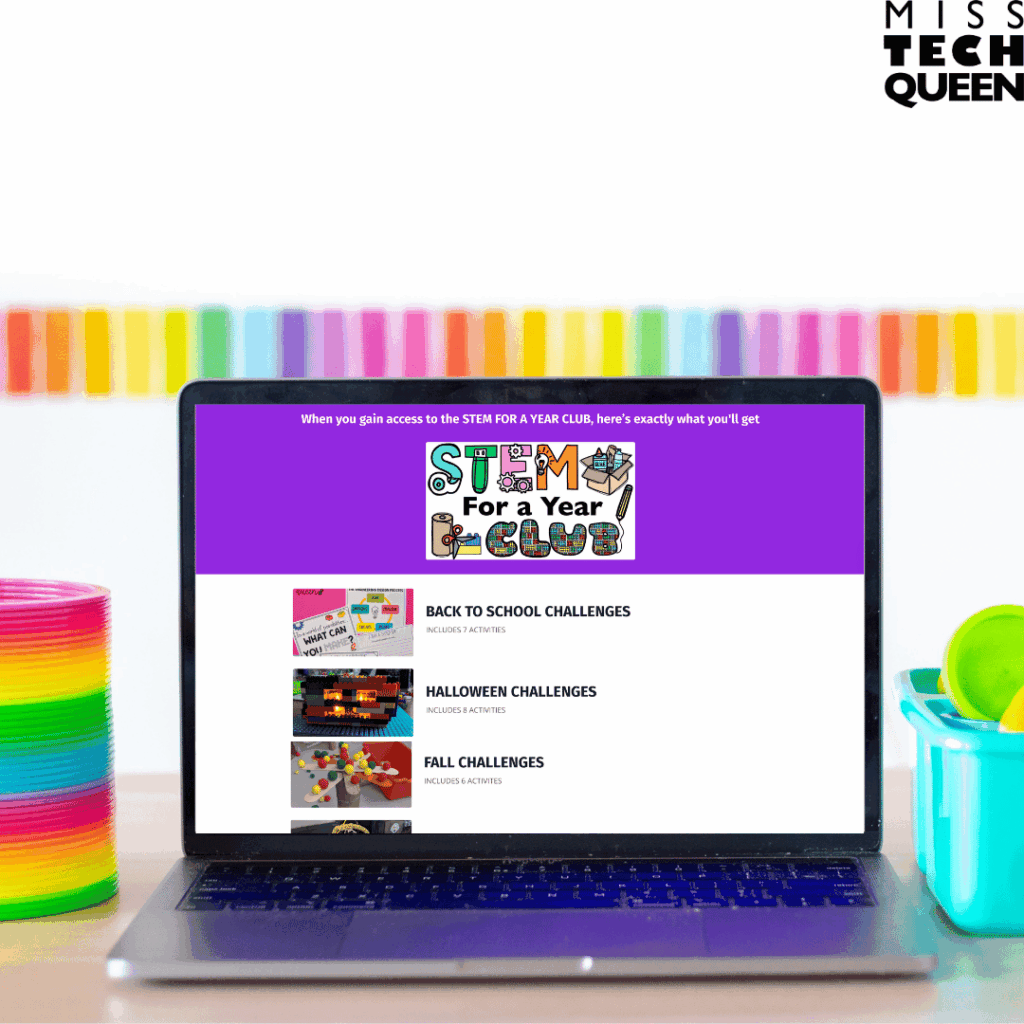
These STEM challenges are what you get inside my STEM for a Year Club. Instead of building your STEM curriculum piece by piece, you get access to a full collection of challenges that are already organized by month and ready to use. You can pull a seasonal activity, use a challenge for a whole class lesson, or turn it into a center. Everything is flexible, so it works whether you teach one grade or multiple.
Each challenge includes task cards, differentiated response sheets, and both printable and digital versions. That means you can project the lesson, hand it out, or adapt it to your classroom without extra work. Your students can draw, write, or follow the engineering design process based on their level.
The best part is that everything is designed to be low prep. You are using materials you already have. Your students are creating their own unique designs. No two final products will look the same, and that is exactly what you want. If you want to stop guessing what to teach next and start feeling confident in your STEM time, this is a simple place to begin!
Save for Later
Save this post to your favorite STEM Pinterest board, so you have a clear plan when you are building your STEM curriculum. Having these steps ready will make your planning easier and your STEM time more meaningful.