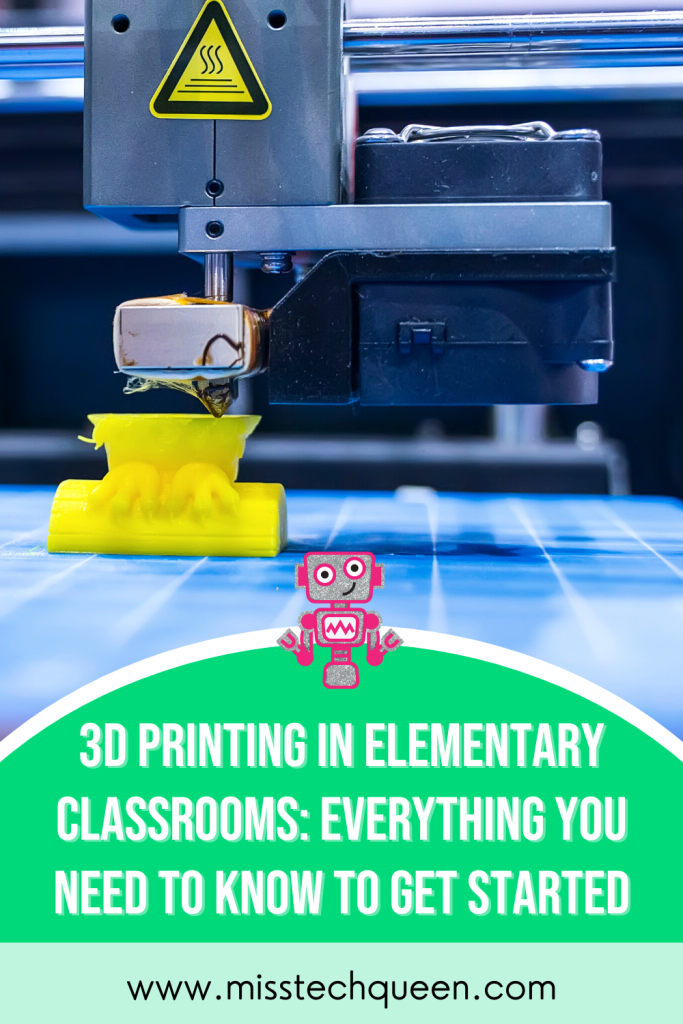
With so many cool gadgets and technology available to teachers right now it can feel overwhelming. One of my main goals in starting the Miss Tech Queen blog was to help you navigate how to use these awesome resources in your classroom. One of my favorite (and sometimes less heard of) resources is a 3D printer. I feel like teachers think about 3D printers as a machine for adults to use. They can be thought of as impractical for the elementary classroom. But, I can assure you, that 3D printing in the classroom is absolutely possible. It will foster curiosity, problem-solving skills, and an enthusiasm for learning from your students. I am so excited to walk you through this exciting journey of getting started with 3D printing in elementary classrooms, complete with tips and tricks (and an awesome project) to make the process smooth and fun.
Getting Started with 3D Printing in the Classroom
Before you start feeling overwhelmed and frustrated, there are a few things to know about 3D printing that can help put your mind at ease.
1. Understanding the Basics
Before diving into 3D printing, it’s essential to grasp the fundamentals. A 3D printer is a machine that creates physical objects from digital models by layering material (usually plastic filament) on top of each other. The process involves designing or finding a digital 3D model, sending it to the printer, and watching as it brings the design to life layer by layer. More on the kid-friendly program Tinkercad to come!
Check out the fantastic video, Beginners Guide To 3D Printers In 2023 by The Edge of Tech for a quick rundown of types of 3D printers, types of filament, slicing, and more!
2. Selecting the Right 3D Printer for the Classroom
Choosing the right 3D printer for your classroom is crucial. Make sure it’s a printer that’s user-friendly, durable, and safe for elementary students. Look for models with enclosed printing areas, which reduce the risk of accidental contact with hot components. Some popular options suitable for elementary classrooms include the XYZprinting da Vinci Jr. and the FlashForge Finder.
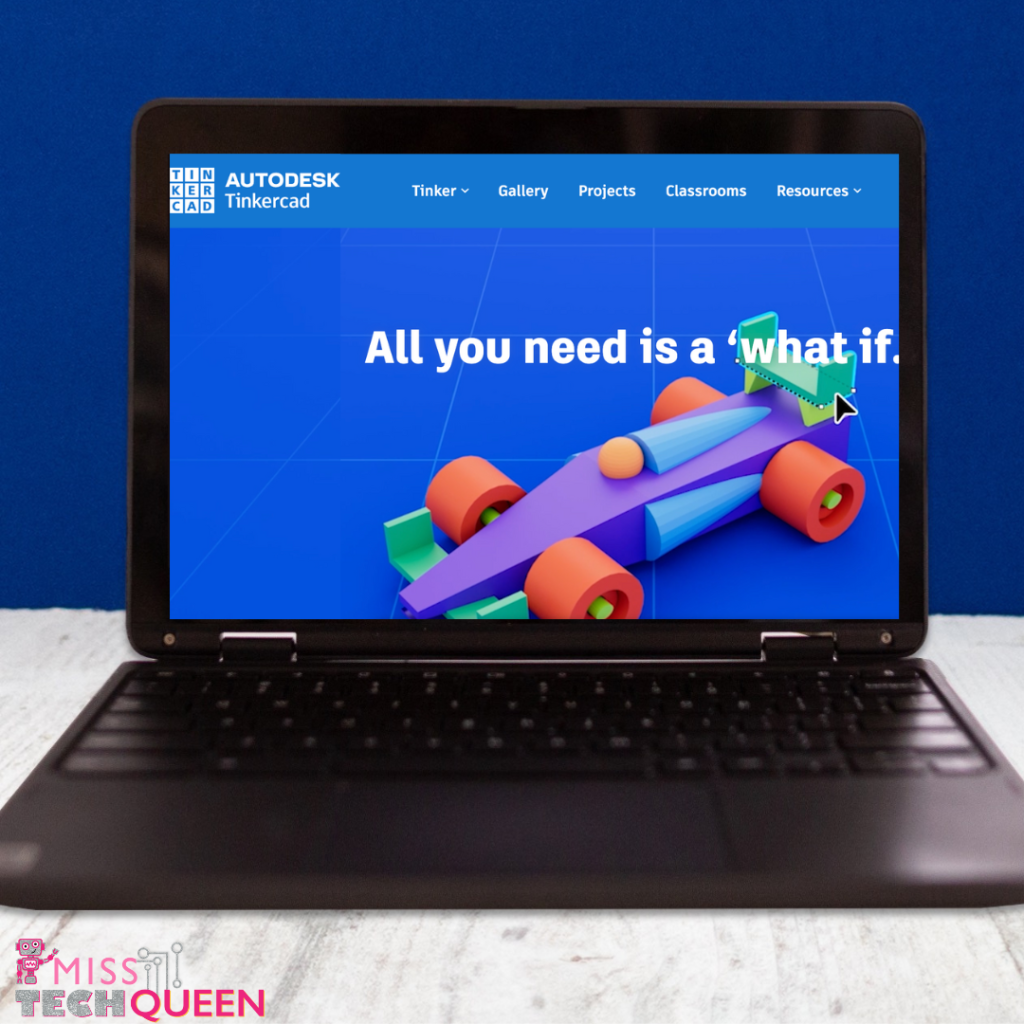
3. Exploring Design Software
I can’t say enough about the awesome kid-friendly 3D modeling software Tinkercad! It’s a fantastic choice for elementary students. And, it’s FREE! Because it has an intuitive drag-and-drop interface it lets students create 3D models using basic shapes and tools.
Some incredible benefits of Tinkercad include:
- No downloads
- Hands-on project ideas
- Ad-free
- Kid-safe certified
- Tons of 3D design projects
- Circuit project ideas
- Codeblock projects
- Tutorials with visuals for projects
- Select projects appropriate for specific grade levels
- Projects aligned to standards
Tinkercad is really the perfect place to start when you are beginning your 3D printing in the classroom. In addition to the projects available on their website, I also encourage my kiddos to design their own creations or collaborate on projects. I love any opportunity to get in some extra teamwork and problem-solving skills.
4. Integrating 3D Printing in the Classroom Curriculum
With so many options for 3D printing projects, you can seamlessly align your projects with various subjects.
For example, in your science curriculum, you can create models of plant cells, animal habitats, or even models of the solar system. In math, consider printing geometric shapes to teach concepts like volume, surface area, and symmetry. For language arts, bring characters from stories to life by printing them as 3D figures. In social studies, you can have your students 3D print historical landmarks or artifacts.
5. Start With Simple Prints
I can tell you from experience it’s important to begin your 3D printing in the classroom with straightforward print projects.
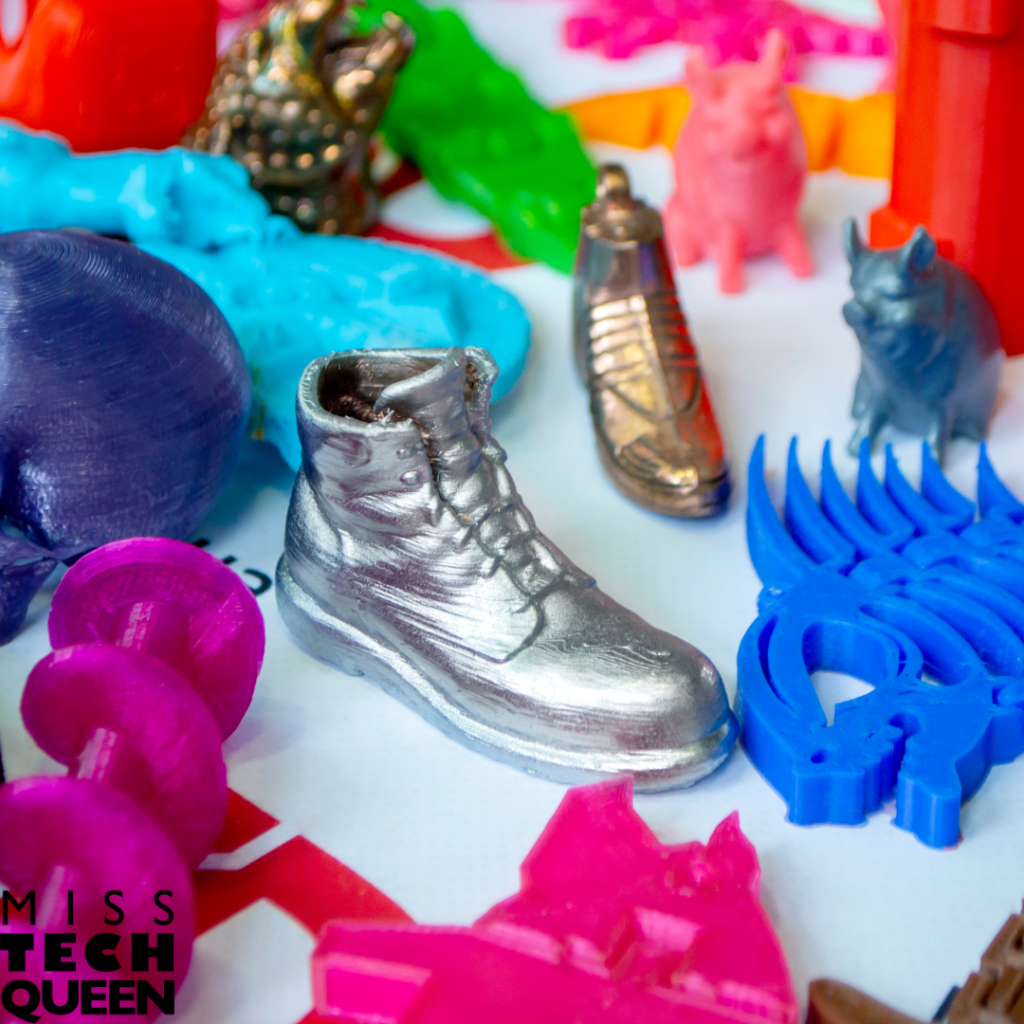
This will help your students build confidence and learn the ins and outs of the printer before progressing to more complicated builds. Things can and do go awry with 3D printers so starting with something small means your kiddos will have the opportunity to learn from a mistake without it ruining a high-stakes print.
Some great and simple 3D print projects to begin with could include:
- Keychains
- Name tags
- Small figurines
As your kiddos become more comfortable with these prints, you can gradually introduce more complex designs and projects throughout the year.
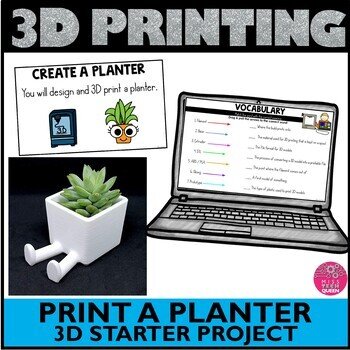
Ready for a Fun and Easy 3D Printing Project?
Now that you have your 3D printer and filament, and understand the basics of 3D printing, it’s time to jump in! I have an incredible 3D printed planter project you can do with your 3rd through 6th graders to help you get started with 3D printing in the classroom. And, it aligns perfectly with most life science units!
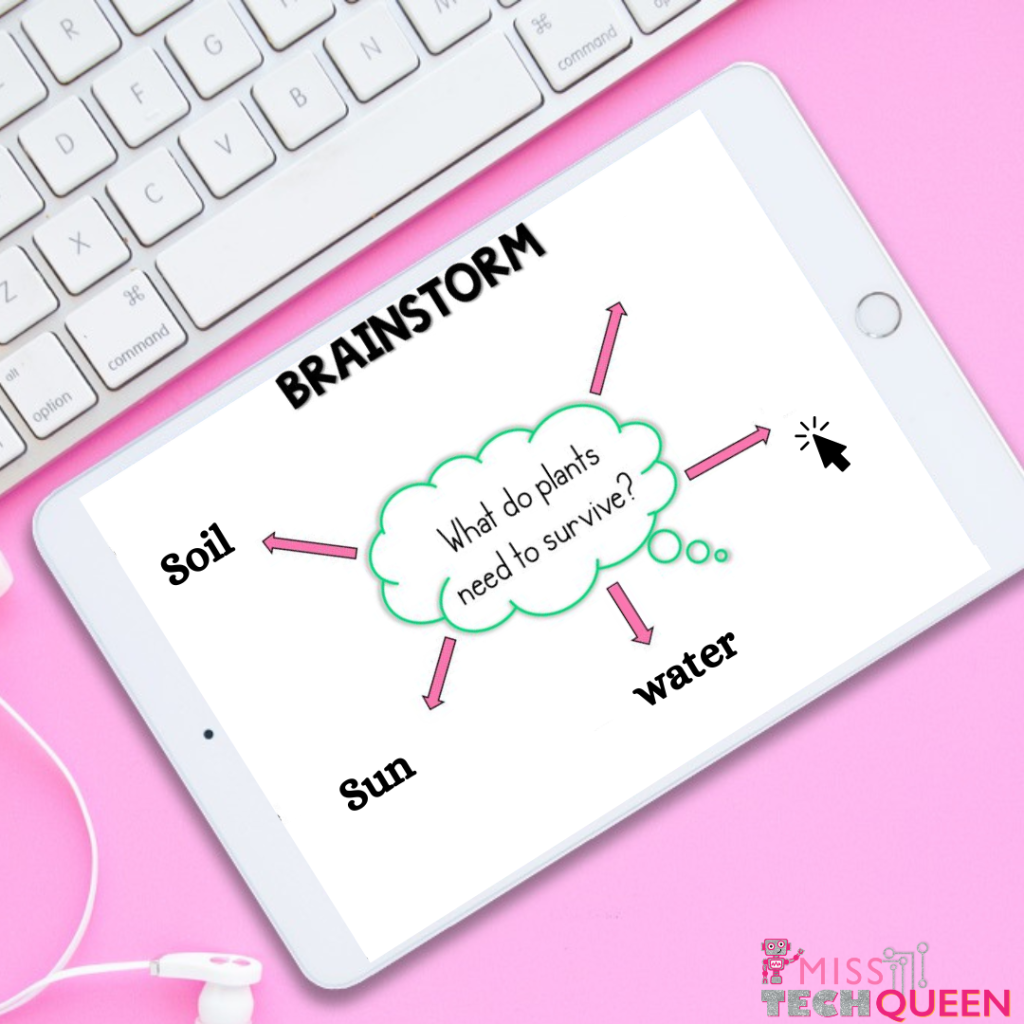
1. Discussion
Take some time to discuss plants with your students. This can include a discussion about what plants need to survive and what elements are important to include in the planter design. I like to give my students time to brainstorm their ideas. This works great in small groups of 3 or 4 students.
2. Pre-assessment
It’s important for students to complete a pre-assessment so you will know how to best differentiate your instruction on any subject. But, when it comes to 3D printing, I find it especially helpful to know where my students are. Some students may have 3D printers at home and have lots of experience with printing objects. Others may have never even heard of a 3D printer. That’s okay though. Knowing where my students are means I can group them more effectively. This helps with the overall success and confidence of my students in the long run.
3. Research and Plan
I give my students lots of kid-friendly videos to watch on 3D printers. I know my students have different ways of learning, so it’s important that I’m making sure to hit all of those learning styles. Here is one of my favorite videos to share with my students. It’s a Nat Geo Kids Video describing how 3D printers work.
During the research and planning stage, we also go over vocabulary terms. There are going to be a lot of new vocabulary terms they haven’t heard before if they are new to 3D printing so it’s important to cover them at the beginning of the project.
This is also the time to have students sketch out their designs. This can be done digitally or with paper and pencil. It’s really up to you to decide what works best for your groups.
4. Create
Remember that awesome program Tinkercad? Now it’s time for your kiddos to dive in and use it to create their planter designs. Before you begin this project, it might be helpful to give your students a day to “play” with Tinkercad. This will help them get used to the layout of the website along with the tools and design process when creating a 3D model with this software.
5. Print
WooHoo! It’s time to print the planter. This is a very exciting part of the process and it feels almost magical to watch the printer put down the layers of the design.
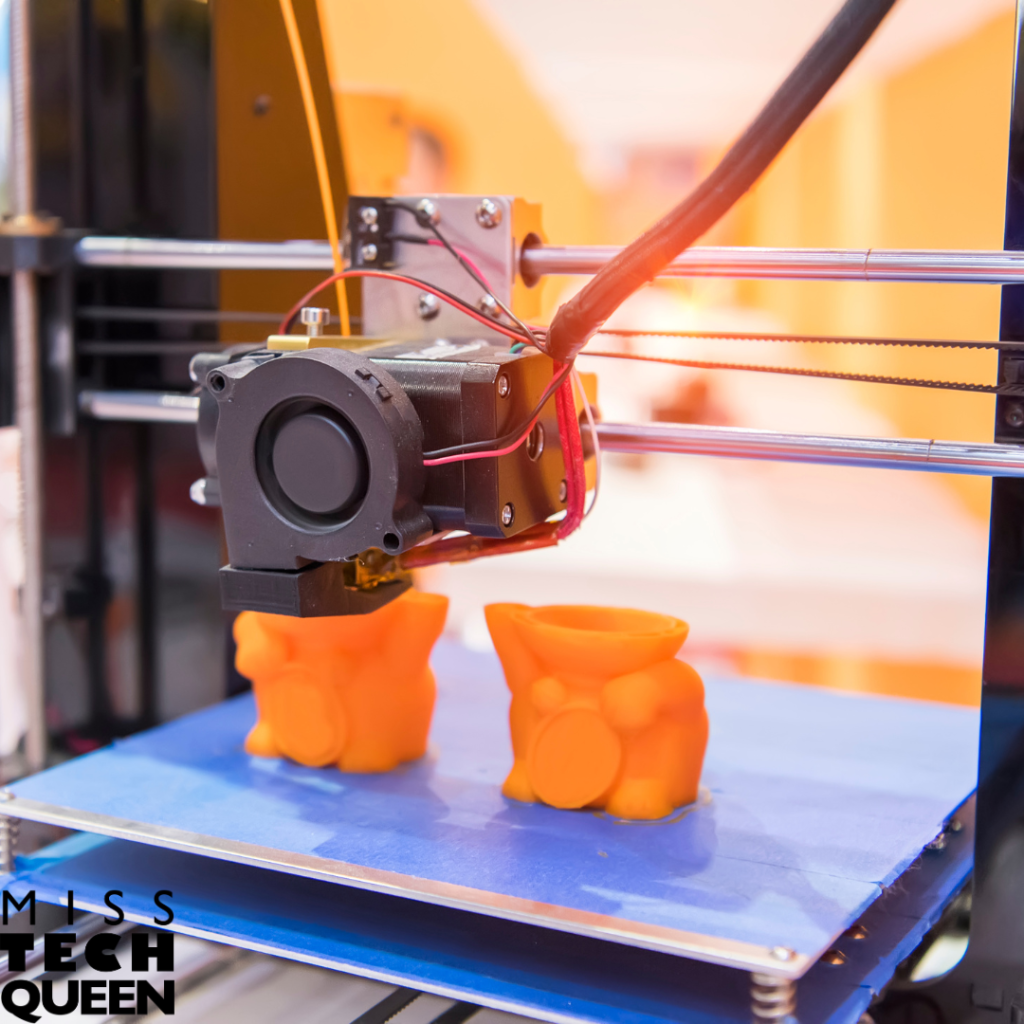
If you have access to an iPad, tablet, or camera that can take time-lapse video, this is a great time to get it out! Your students will love watching the design print, but it does take a while.
Recording the process in time-lapse means they will get to watch the whole print from beginning to end in a matter of minutes. I have even projected a print up on the whiteboard for the entire class to see.
If you run into problems, which happens from time to time, use it as a learning opportunity. Ask students to think about what went wrong and how they can fix it for the next print. I also like to hold onto some of these “wonky” prints to use as examples of things that can go wrong. You can also set up a “not quite right print” display for kids to look at and try to figure out what went wrong.
6. Reflect
It’s always a great idea to encourage reflection after any project.
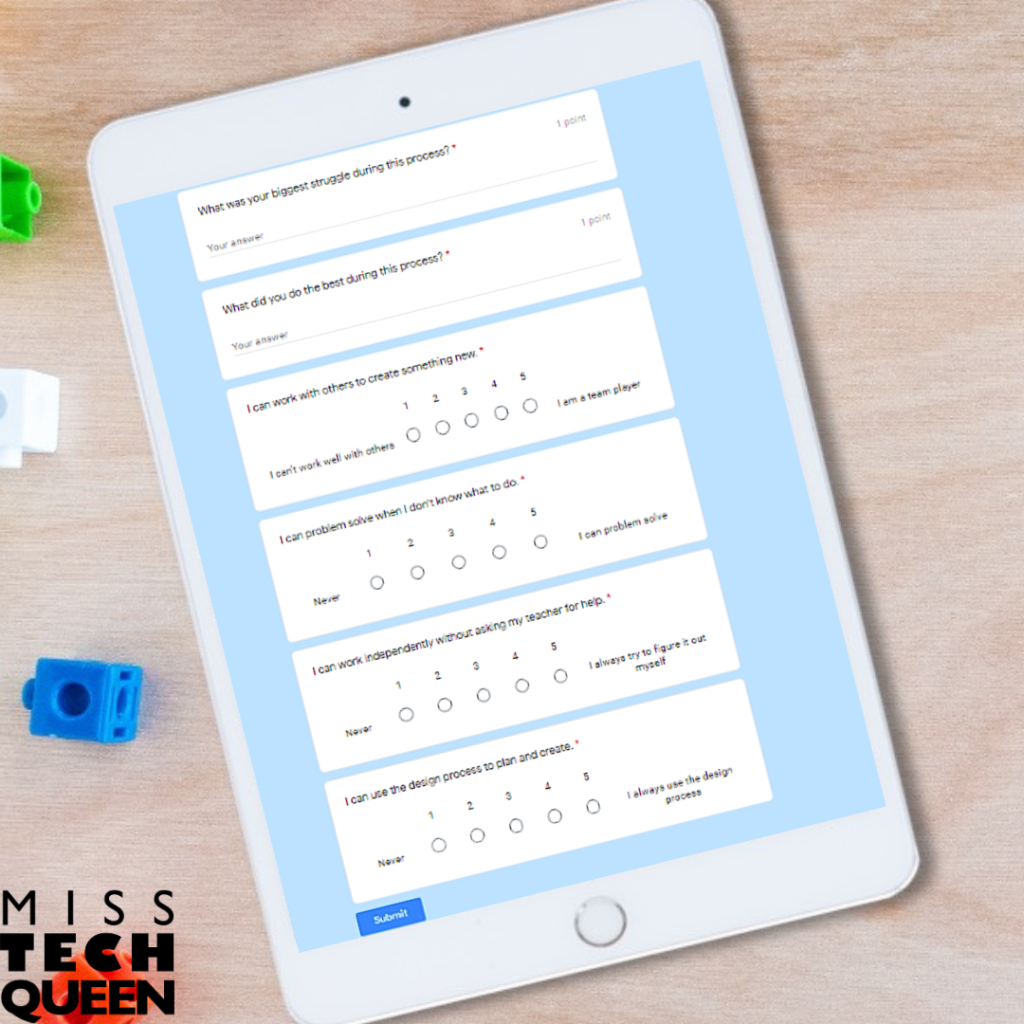
But, with something new like 3D printing, it’s especially helpful.
Using digital reflection sheets from the GoogleForms in the 3D Printing Guide your students can look back on what they created.
Then, they can identify areas where they were successful and areas where there could be some improvements.
You can even include a post-assessment test at this time to check for 3D printing vocabulary knowledge.
Get Your 3D Printing Planter Project Today
This 3D printed planter project is the perfect starter project in your 3D printing journey. It’s kid-friendly, uses all the resources and supplies for 3D printing, and teaches perseverance and creativity. After completing this project your students will be able to:
- Design a model in a 3D program
- Export an appropriate file to be printed
- Open, scale, and print a 3D model
- Identify parts of the 3D printer
- Create a functional work of art
Grab your Introduction to 3D Printing Planter Project to use in your classroom today!
More Tech Fun!
Looking for more ideas on integrating technology projects into your classroom? Check out these guides.
- How to Start Using Coding Activities in the Classroom
- How to Integrate Movie Making in the Classroom
Pin it!
Be sure to save these tips and tricks for 3D printing in the classroom to your favorite STEM or technology Pinterest board!