MAXIMIZING Time in STEM CLASS
Are you struggling with shortened class periods?
The biggest difference between being a classroom teacher and a specials teacher is that you can not overlap time. If you’re in the middle of a STEM challenge in a homeroom, you can always extend into the next period, and put your materials aside for the next day, however, as a special teacher with multiple classes, it becomes a bit more tricky. By the time you are wrapping up your lesson, the next class is knocking at the door!!! 35-45 minute classes are tough but….
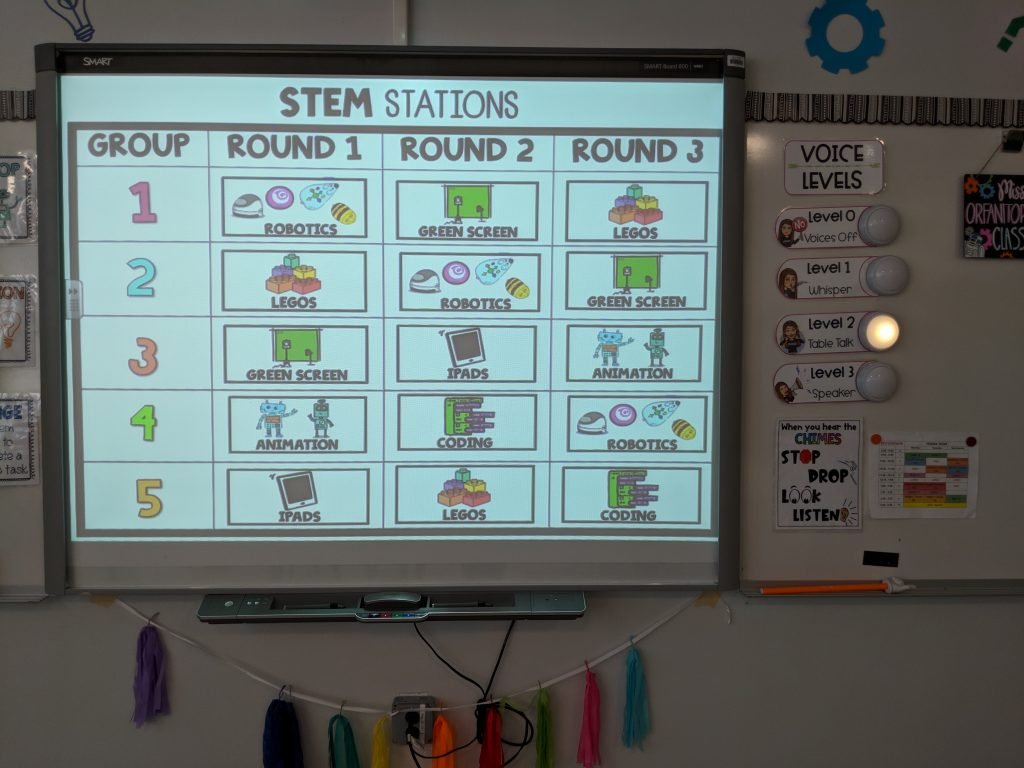
Stations are one of my favorite ways to set up class, especially for grades K-2.
This allows for better time management in the restricted class period. In the beginning of the year, I give students simple building materials to work with, such as Lego, plus plus blocks, or gears. As the year goes on, I start to incorporate new technology and materials for them to use (robots, math activities).
I do this with rotations, which makes it a lot easier. I am able to work with one group while the others work independently.
Plus, if you do not have enough materials for every student, this is a perfect way to allow every student to try every activity. Setting up small groups instead of trying to give one material to an entire class, makes ordering much more manageable on a small budget.
I have six tables in my classroom and 4-5 students sit at each. I usually set up two of the same tables, and rotate three different times.
For example, I will provide Lego with building task cards at tables 1 and 4, Magformers at tables 2 and 5, and robot mouse at tables 3 and 6. Table 1, 2, and 3 rotate together and table 3, 4, and 5 rotate together. Building with Lego and Magformers are simple, which allows me time to sit and focus on teaching the other two tables how to use the robot mouse. Getting two robots is also much easier than having to buy six.
As the year goes, and students are more comfortable with all classroom materials, I will create six totally different stations. I let students select where to go, but I still limit the number of students at each table. This allows students to try various activities, especially with limited supplies.
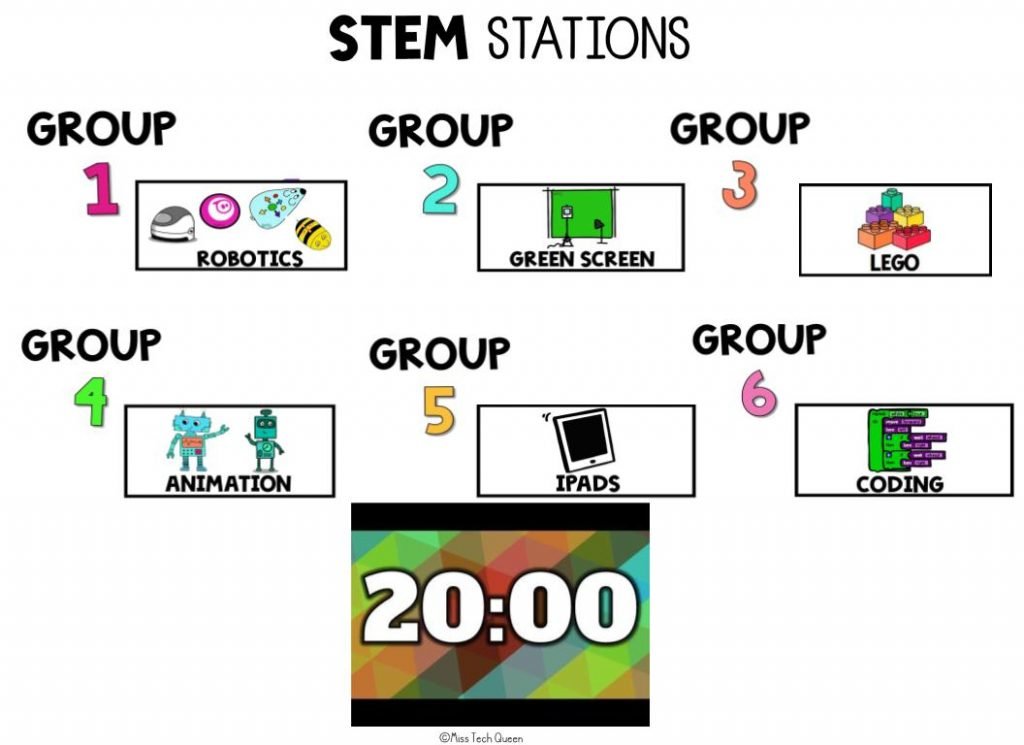
I always display a timer across the board, so students know exactly how much time is left at each station. It is secretly a reminder for me too, so I won’t lose track of time (You know that happens!)
I call students randomly to let them pick where to go, or sometimes assign groups. This makes for a simple way to use our materials, plus let every student try something new.
If you want to try stations, Click here to view my makerspace rotation chart. I have put together a printable and digital chart to make it easy for you to set up. You can use graphics and timers to create stations that you display on the board.
If you have any questions on stations, feel free to email me or write me on Instagram @MissTechQueen. I am happy to help!
Check out my video on YouTube talking all about makerspace stations!
Want more tips & tricks? Miss Tech Queen’s Tool Box is the perfect online course that not only provides you with video tutorials, but also ready to use activities.
Any educator can create digital resources and activities by using Miss Tech Queen’s Tool Box, because it provides step-by-step tutorials and tools for engaging projects.
Share it:
- Read more about: Makerspace

