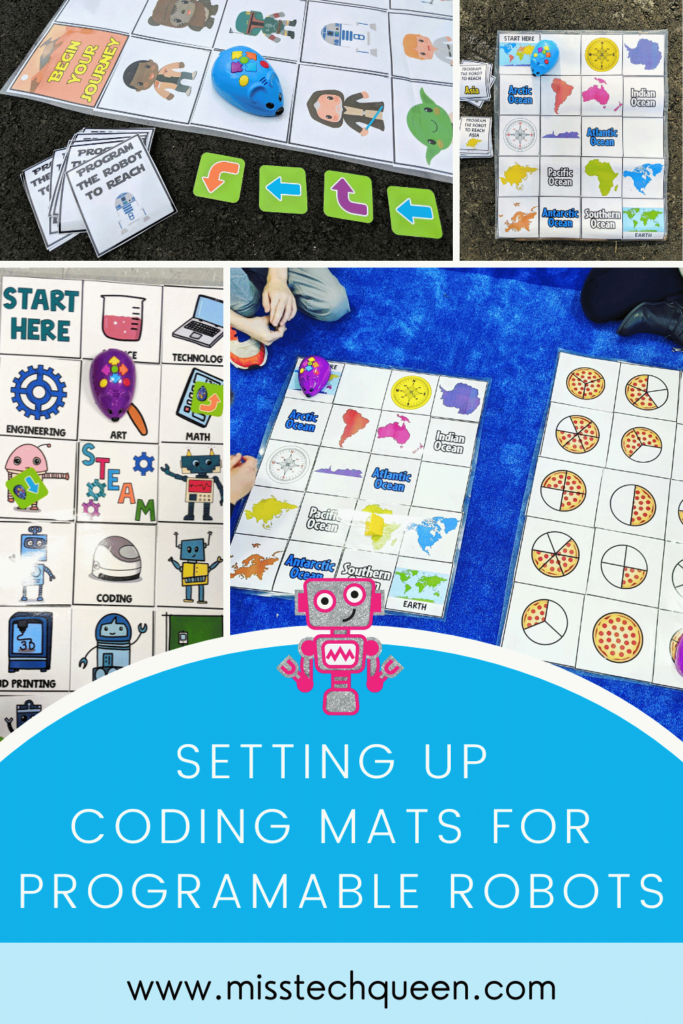
Coding can seem like an overwhelming or complicated skill set to a lot of our kiddos. They think only the smart kids can do it. My favorite thing is to prove to them they can all be coders! We just need to start with the basics. I discovered that setting up coding mats is the perfect place to start to show them how fun and interactive coding can be! I’m sharing hands-on activities today that make programming robots like Bee-Bot, Sphero, Robot Mouse, and Dash accessible and exciting for your students.
Why We Need To Teach Code With Coding Mats
Teaching coding with coding mats is a total game-changer in the classroom! Not only do our students love the challenge of programming their robots to move along the mats, but they’re also picking up essential skills without even realizing it. Coding mats bring learning to life in a hands-on, visual way that helps our students understand programming basics like sequencing, loops, and problem-solving.
When we use coding mats, it gives our students the chance to see their commands in action. Watching their robots move (or sometimes not quite move as planned!) lets them instantly understand what worked and what didn’t. This immediate feedback makes coding much more meaningful for them, especially since they can adjust and try again in real time.
What I love most about using coding mats is that they inspire creativity while building persistence and collaboration. Whether it’s a simple path or a custom maze, my students stay engaged and excited while they learn critical skills for the future. It’s a fun, hands-on way to get them thinking like programmers and solving problems like pros!
Activities for Coding Mats with Robots
I’m going to walk you through a few of my favorite activities for coding mats. Whether you’re working with Bee Bot, Sphero, Robot Mouse, or Dash, there are so many creative ways to use coding mats to engage your students. From simple paths to more complex mazes, each activity will help build their programming skills while keeping things fun and hands-on. I’ll show you how to get started with these activities so you can use them with your students!
If you like what you see below, make sure to take a look at my Coding Mats Bundle, which has everything you need your students to start building! Below will give you just a sneak peek of what there is to find inside each coding resource!
How to Set Up the Mat
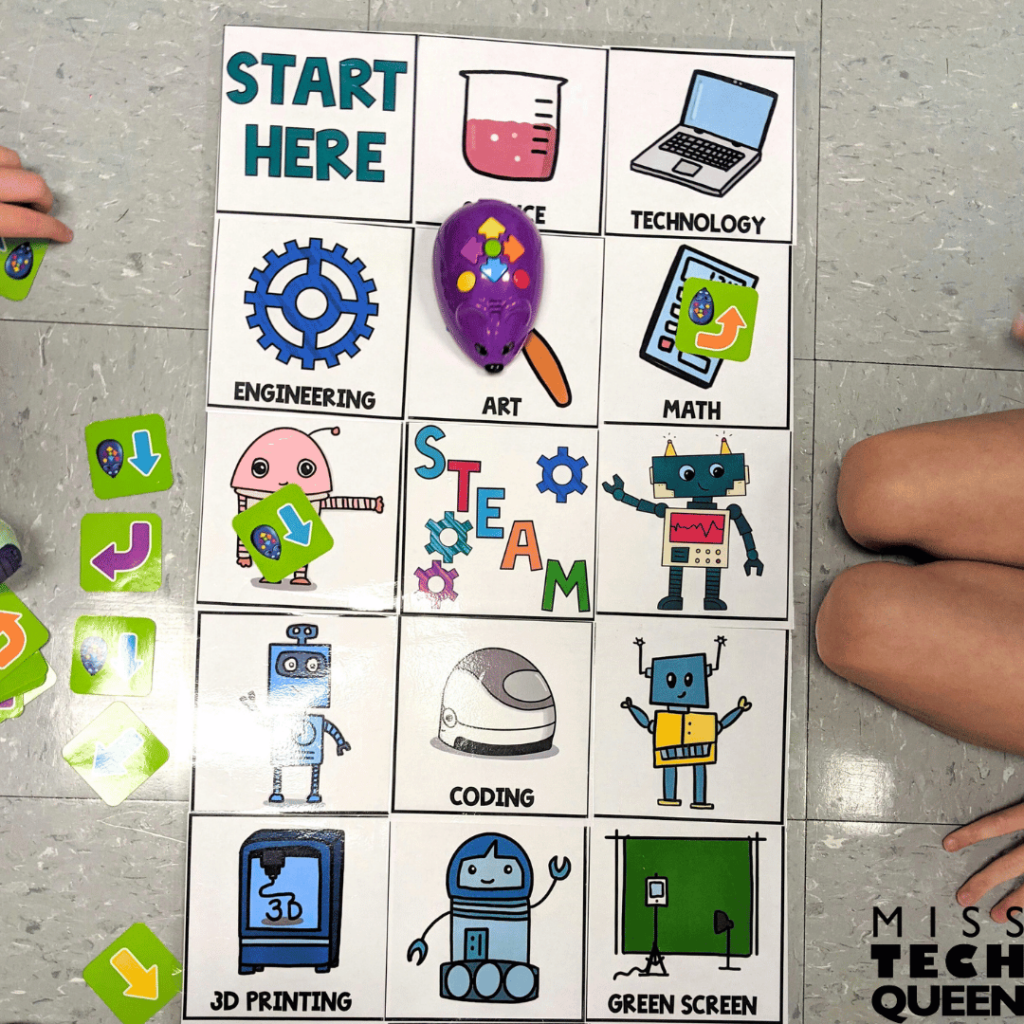
Setting up coding mats is pretty simple and a lot of fun to customize! First, start by printing out the photo squares. You’ll have a lot of options to choose from, and typically, about 16 squares will make up one average-sized mat. When printing, make sure you unselect fit to page. This keeps the photos at their original size, which is important, especially if you’re working with larger robots like Dash or Bee Bot. Those squares should stay at 6×6 inches. Smaller robots, like Sphero or Robot Mouse, can be scaled down to about 80%, which gives you 5×5 inch squares.
Once your squares are printed, go ahead and cut around the black border to remove any extra white from the page. Keep the black border itself. I like to lay out 3 or 4 squares across, but you can go as big as you like. If you want to add a little variety, print a few blank squares to mix things up. Don’t forget to place the start here square at the top of your mat. Feel free to get creative with how you arrange the photos. You can follow the sample layout or make something totally your own. You can even create multiple mats for different challenges.
Once you’re happy with your arrangement, tape the backs of the photos together so the tape stays hidden. Then, laminate the entire mat to keep everything secure and in place. That’s it! Your coding mat is ready for action.
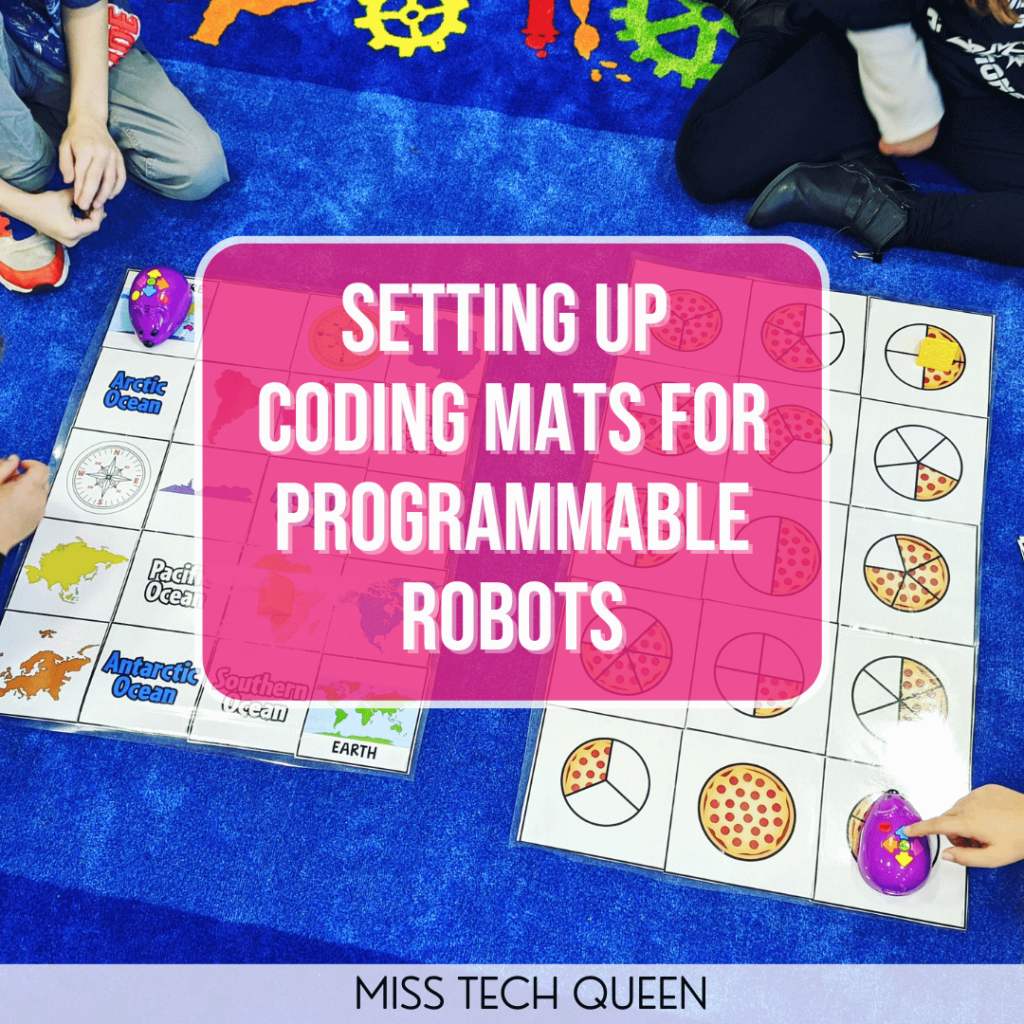
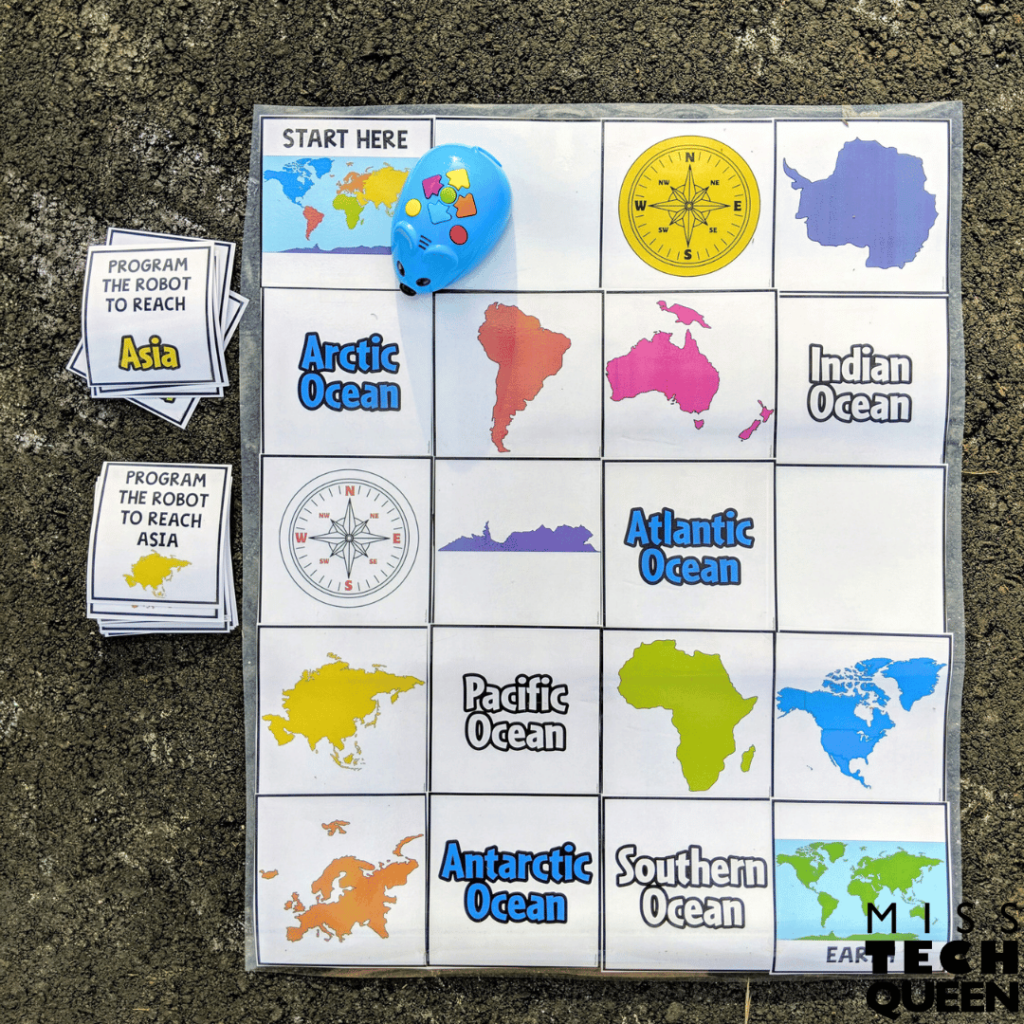
My 7 Continents Coding Mats are a great example of laminating these squares altogether! The continents are all on different squares, and I have laminated them together. I then have my students follow the directions on cards that tell them what to program their robot to do.
Creating Mazes
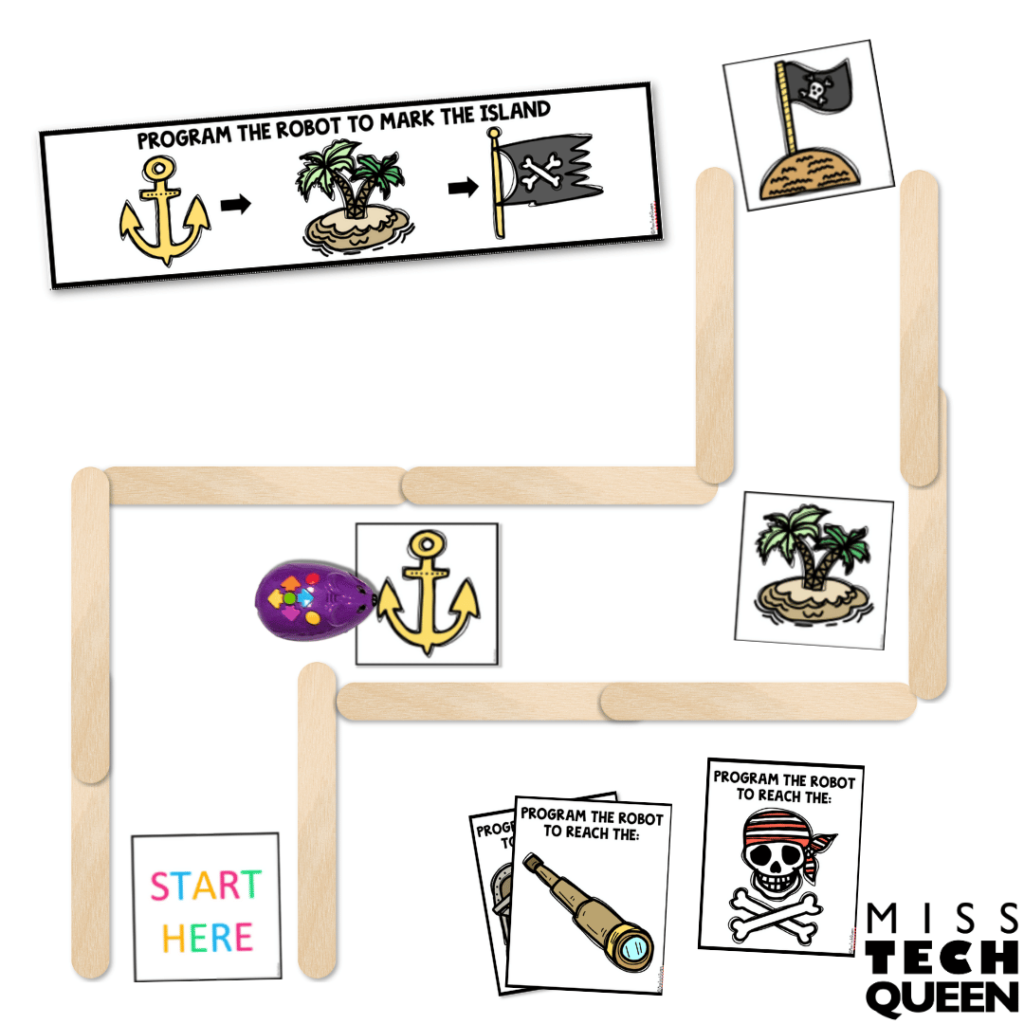
Creating a maze with your coding mats is super easy and gives students the chance to get really creative! First, print out the activity squares, just like before. This time, laminate and cut them individually. Keep them loose so that students can move the pieces around to design their own mazes right on the floor.
This is where the fun really starts! I usually have students use Keva Planks, popsicle sticks, or Legos to create a physical path for their robots. Then, add the activity squares to the maze. They can act as targets that the robot must reach as it moves through the course. It’s a great way for students to take control and design their own challenges while practicing their coding skills.
Watching them figure out how to guide their robots through their custom-made mazes is always a blast. It also helps reinforce problem-solving, sequencing, and creative thinking.
If you are looking for a pirate-themed coding resource, make sure to explore my Pirate Coding Mats!
Using Task Cards with Coding Mats
One of my favorite ways to make coding mats even more engaging is by adding task cards! These give students specific programming challenges for their robots. They’re also so easy to set up. All you have to do is print and laminate the challenge task cards so they’re ready for tons of use. They help keep the activity organized and durable, especially if you use them throughout the year.
Once your task cards are set, place them in a pile next to the mat. During the activity, your students can grab a card and read the challenge. They will work together to complete the challenge by programming their robot to move through the mat. It’s such a fun way to get them collaborating, adding a nice layer of focus to the activity. I love watching my students take turns with the task cards and helping each other troubleshoot along the way!
Using Code Cards for Visuals
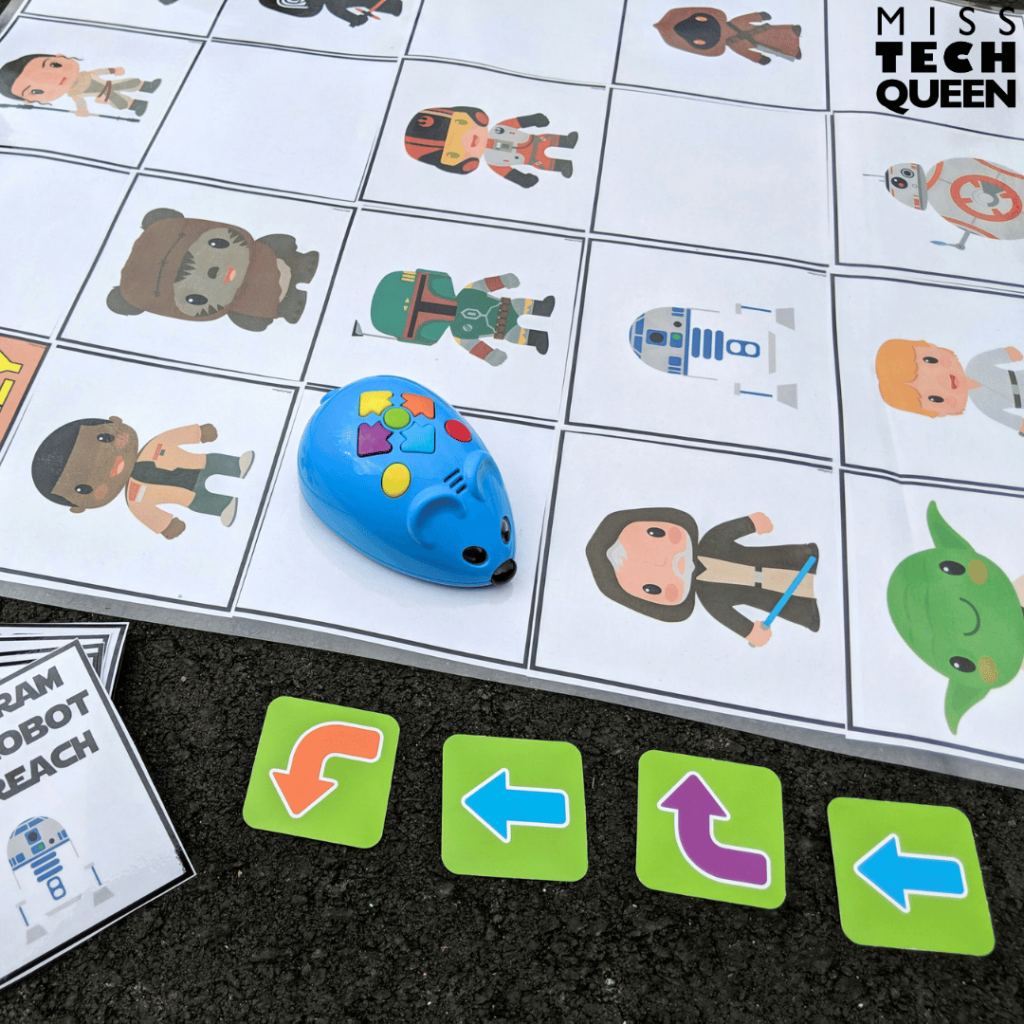
To help students visualize the coding process, I love using code cards! These cards show commands like “turn right,” “turn left,” “backward,” “straight,” “loop,” and “run the code.” They’re perfect for giving students a clear, visual way to see the steps they’re programming into their robots.
Just print and laminate the code cards, and they’re ready to go. I usually keep them handy near the coding mats so students can grab them as they plan their robot’s path. It’s such a helpful tool, especially for beginners, because it takes the guesswork out of coding and lets them see each command right in front of them. Plus, it gets them thinking about sequencing and how each step works together to guide their robot through the course!
Response Sheets for Coding Mats
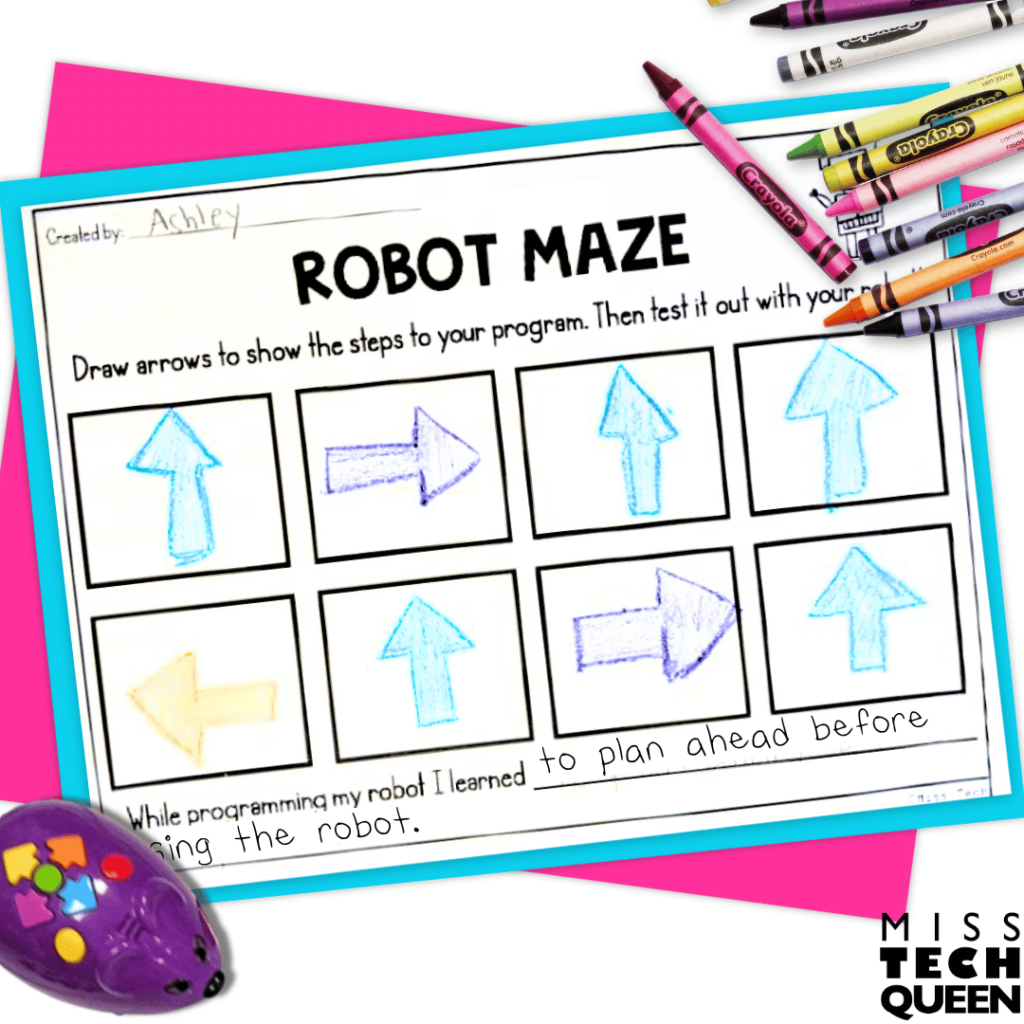
I love incorporating response sheets when my students use coding mats! These sheets give them a chance to track all the directions they programmed into their robot. This makes it easy for them to reflect on their process. Whether they hit a challenge or had to debug their code, the response sheets help them think through what they learned during the activity. Plus, they’re great for accountability and getting students to slow down and focus on each step of their coding journey.
A great tip is to laminate the response sheets so they can be reused with dry erase markers. This makes them perfect for stations where students might work through multiple programming challenges in one lesson. If your students need more room to write down their steps, you can print the sheets front and back to give them even more space to document their code. It’s a simple, low-prep way to keep our students engaged and thinking critically about their coding work!
Additional Resources
Coding can be a very fun and interactive experience! The wonder and amazement that lights up my students’ faces as they code makes my teacher heart so happy. Below are even more resources about coding that will help you bring this same experience to your students!
- How to Start Using Coding Activities in the Classroom
- The Benefits of Teaching Coding in the Elementary Classroom
- Coding in the Elementary Classroom Made Easy
Time to Get Started With Coding Mats!
Setting up coding mats for programmable robots is an engaging way to teach our students the basics of coding. From creating custom mats to using task cards, response sheets, and code cards, these hands-on activities make programming come to life. Whether you’re working with Bee Bot, Sphero, Robot Mouse, or Dash, your students will love the challenge and creativity that coding mats bring to the classroom. It’s all about making learning interactive, collaborative, and fun. So, get those coding mats ready and watch your students thrive as they navigate their robots through these exciting challenges!
Save for Later
Remember to save this post to your favorite STEM Pinterest board for quick access to these tips and resources for coding mats!